Building a DIY Tiny House Loft Bed
Loft beds present an exceptional solution for maximizing your space. This is especially true in tiny homes or smaller bedrooms.
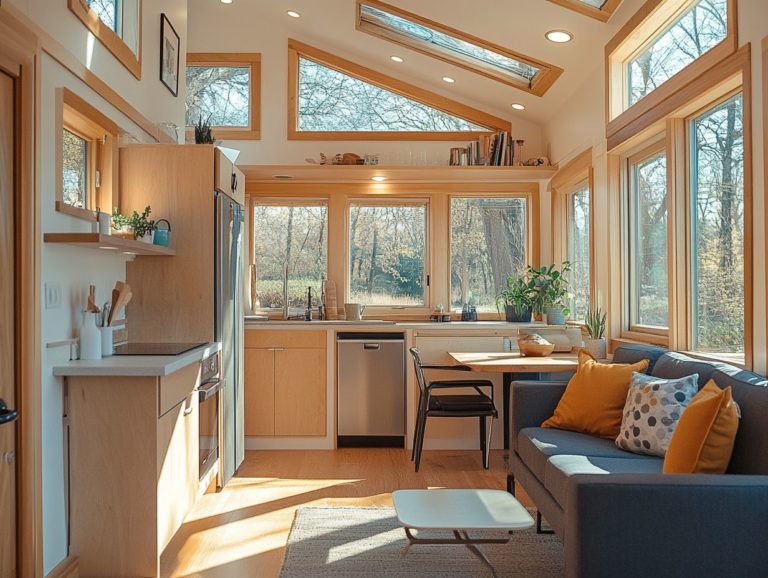
By elevating your sleeping area, they free up valuable floor space for other activities or storage. In this guide, we will explore various DIY loft bed designs that can enhance your interior design.
This guide will walk you through the DIY process of building your very own loft bed, detailing essential materials, supplies, and tools along with clear, step-by-step instructions that make this an easy DIY project.
You’ll find insights on optimizing your design, comparing costs to pre-made options, and considering vital safety guidelines. Regardless of whether you re an experienced DIYer or just starting out, creating a loft bed can become a rewarding project and a stylish, functional addition to your home.
Contents [hide]
- Key Takeaways:
- Materials and Tools Needed
- Step-by-Step Instructions
- Tips for Maximizing Space and Functionality
- Cost Comparison to Pre-Made Loft Beds
- Safety Considerations
- Frequently Asked Questions
- What materials do I need to build a DIY Tiny House Loft Bed?
- What are the dimensions I should use for a DIY Tiny House Loft Bed?
- Do I need to have advanced carpentry skills to build a DIY Tiny House Loft Bed?
- Can I customize the design of my DIY Tiny House Loft Bed?
- How long does it take to build a DIY Tiny House Loft Bed?
- Is it safe to build a DIY Tiny House Loft Bed without professional help?
Key Takeaways:
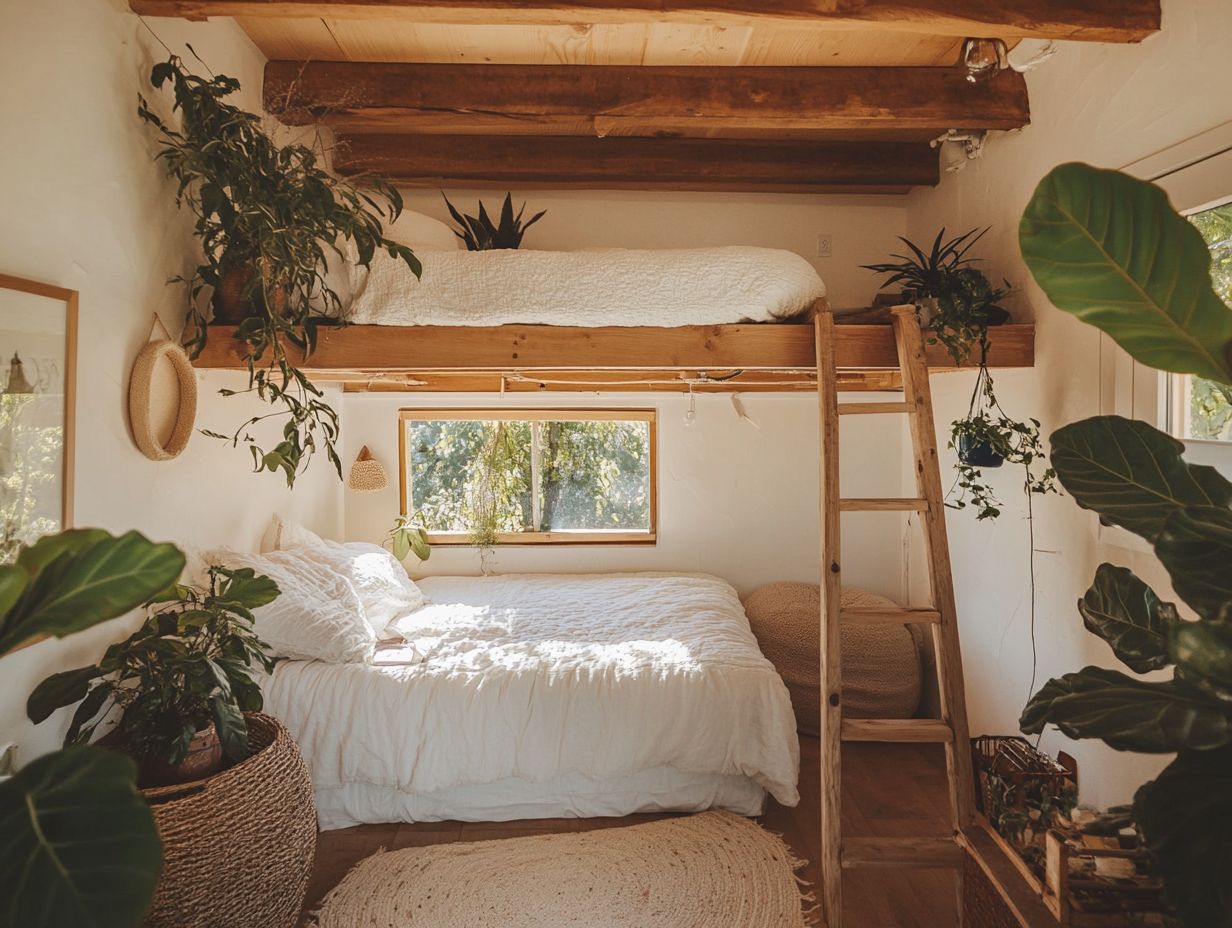
What is a Loft Bed and Why Choose DIY?
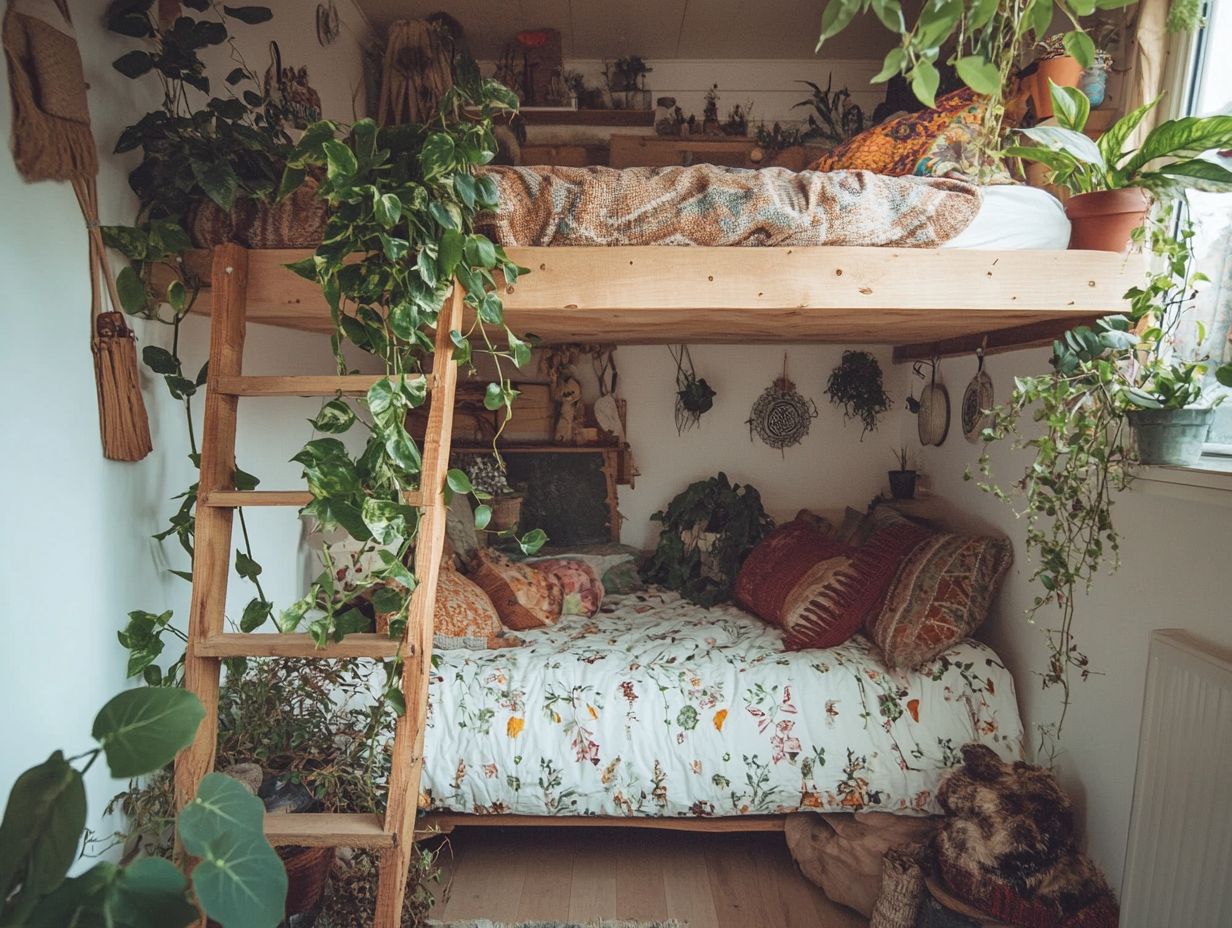
A loft bed is a versatile, space-saving marvel that elevates your sleeping quarters off the ground, freeing up valuable floor space beneath. This design is particularly favored in kids’ bedrooms, college dorms, or small apartments, where every square foot truly counts. For students, a loft bed design can be an excellent space-saving solution.
By opting for a DIY loft bed, you have the opportunity to customize dimensions and features to perfectly suit your needs, all while embarking on an affordable project that could pair well with how to build a DIY tiny house porch to enhance your home improvement journey.
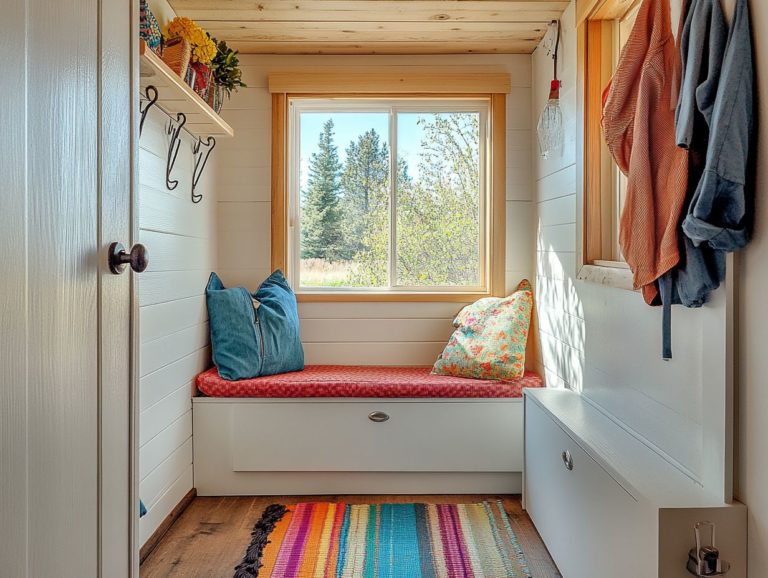
Constructing a loft bed opens up many options for you. You could add a cozy study area, a sleek bookshelf, or even extra storage under your bed. This innovative approach not only maximizes vertical space but also infuses a playful spirit into the room, making it a beloved choice among children. Consider integrating a reading nook to create a multifunctional space.
The affordability of sourcing materials provides a canvas for your creativity and craftsmanship, allowing you to select colors, styles, and finishes that reflect your personal tastes. Consider using pre-milled wood for ease and efficiency. Ultimately, a DIY loft bed can transform a cramped area into a stylish and functional sanctuary for rest and play, proving that effective space utilization is within reach for everyone.
Materials and Tools Needed
To build your own DIY loft bed, gather budget-friendly materials and tools. Choose construction-grade lumber for durability and safety.
Using proper woodworking tools ensures precise cuts and assembly, making the project enjoyable and fulfilling.
Essential Supplies for Building a Loft Bed
When you embark on your DIY loft bed project, gathering the essential supplies is pivotal for a successful and safe build. This includes selecting the best wood screws and pocket screws for assembly.
To create a sturdy and reliable structure, consider selecting 2×4 or 2×6 lumber for the frame. These dimensions provide excellent strength and support. Opting for quality plywood for the bed platform is equally important; it guarantees even weight distribution and prevents sagging over time. Following the plywood guidelines will help ensure long-lasting durability.
For secure assembly, using stainless steel wood screws is a smart choice. They offer superior durability compared to regular screws, resisting rust and wear. Don t overlook pocket screws either; they enhance joint strength while maintaining a clean aesthetic. Remember to follow safety guidelines to ensure a stable structure.
Incorporating solid guardrails that meet safety standards is imperative, especially for a kids’ loft bed. They protect occupants from unintended falls, prioritizing safety above all. Attention to these details maximizes safety and ensures long-lasting stability, allowing you to enjoy your creation for years to come. This attention to detail is crucial for kids’ bedroom ideas.
Step-by-Step Instructions
Building your own DIY loft bed can be a truly enjoyable and fulfilling endeavor, especially when you follow step-by-step instructions that guarantee a successful and efficient project. For this, consider using a woodworking tutorial that guides you through the loft bed construction process.
Start by crafting a solid floor plan that clearly outlines your layout, ensuring to consider the dimensions of the bed and the available space. Gather your materials and get to know the steps ahead. This prepares you for a smooth build!
Preparing well boosts your efficiency as you build your loft bed.
Building the Frame
To embark on your loft bed project, the first step is to assemble the bed frame, laying the groundwork for the entire structure. Opt for construction-grade lumber to ensure strength and stability. Use woodworking jigs, which are tools that help make precise cuts, to achieve accurate connections. The lumber you choose plays a pivotal role in influencing the durability and aesthetic appeal of your loft bed.
Start by carefully measuring your space to determine the ideal height and dimensions of the bed frame. Consider options like pine or plywood, which strike a perfect balance between cost and sturdiness. Cut the pieces according to your measurements, using a circular saw or miter saw for crisp, straight lines. Using the right woodworking tools at this stage is crucial for ensuring accuracy.
A pocket hole jig can be incredibly useful for creating strong joints without visible screws. Once you’ve made your cuts, lay out the pieces in a dry fit to ensure everything aligns perfectly before you dive into assembly. And remember, sanding the edges is a must for a smooth finish that enhances both safety and visual appeal.
Get ready to build your dream loft bed today!
Adding Support and Safety Features
Adding support and safety features is essential when building a loft bed, especially for children’s use. Following safety guidelines ensures your design includes sturdy guardrails for protection and adequate support for stability.
By using effective woodworking techniques, you can reinforce the structure, providing peace of mind for parents and a secure space for kids. Make sure to follow woodworking projects that prioritize these safety measures.
The right design and materials are critical for enhancing the overall safety of a loft bed. For example, securing guardrails with strong brackets boosts safety and elevates the bed’s aesthetic appeal.
Using dado joints instead of less stable connections can significantly enhance the frame’s durability. Choosing high-quality, treated wood prevents wear and tear over time, ensuring that the bed remains a safe haven for little ones. This makes it an ideal choice for kids’ furniture.
This attention to detail builds a stable environment that parents can trust, allowing children the freedom to explore their creativity while resting safely. A well-built loft bed can inspire imaginative play and cozy reading nooks.
Finishing Touches
Adding finishing touches to your DIY loft bed can elevate its aesthetic and functionality, opening the door to greater design creativity. Consider using LED lights to enhance the room’s ambiance.
Painting the furniture to match your interior design seamlessly, or adding LED lights for a modern flair transforms the space into a cozy reading nook. These details enhance visual appeal and allow you to personalize your loft bed to reflect your unique style.
To take it a step further, think about incorporating unique painting techniques like ombre effects or stenciling to infuse depth and character into the bed. Explore various lighting options, such as string lights or adjustable sconces, to create a warm ambiance perfect for relaxation or focused study sessions.
Remember, the secret lies in harmonizing these elements with your personal taste, whether it leans toward minimalist elegance or vibrant bohemian flair. By focusing on these final touches, you can transform a functional piece into a true reflection of your individuality and comfort.
This attention to detail promotes your DIY furniture project as a unique expression of your style. To enhance your space further, consider learning how to build a tiny house Murphy bed and make your loft bed a centerpiece of creativity and comfort!
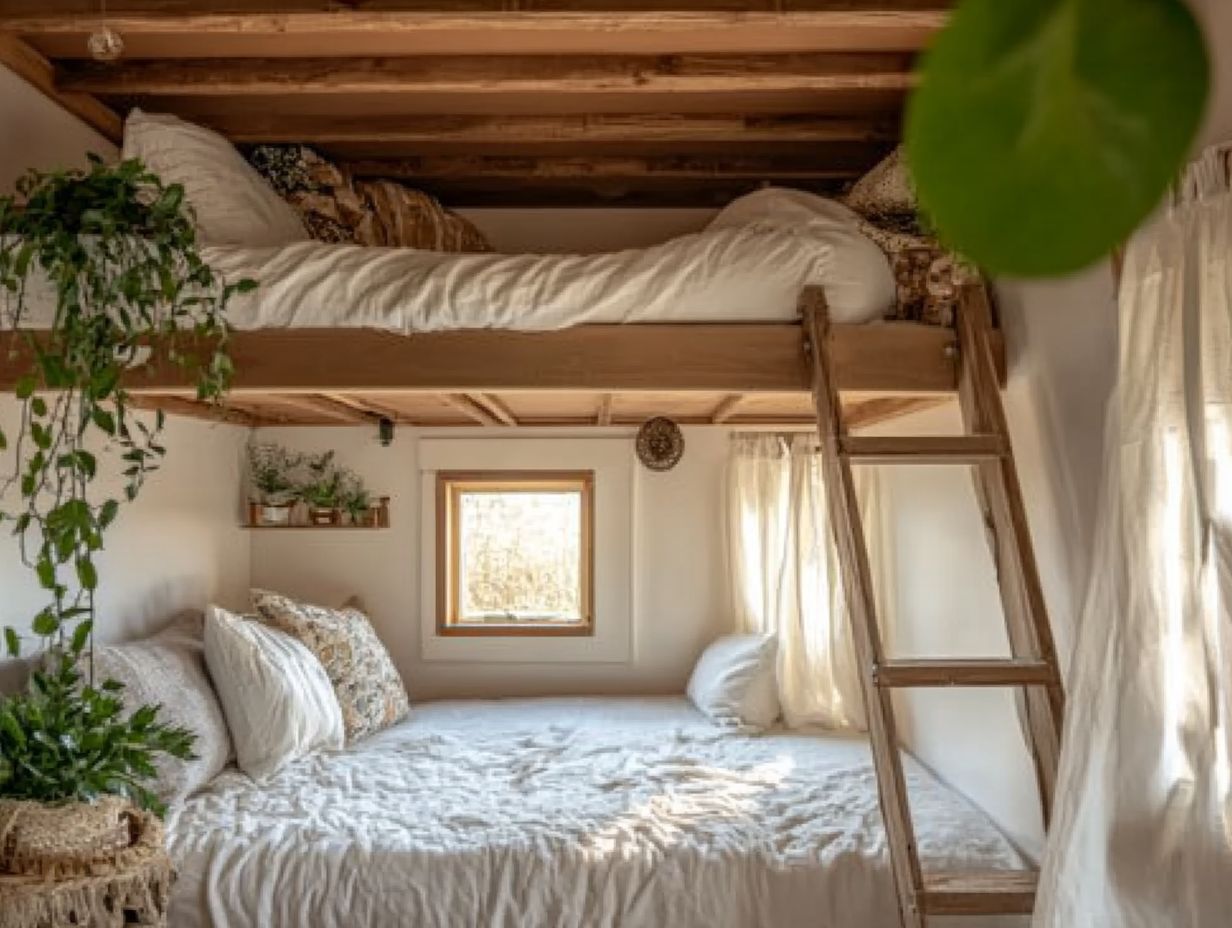
Tips for Maximizing Space and Functionality
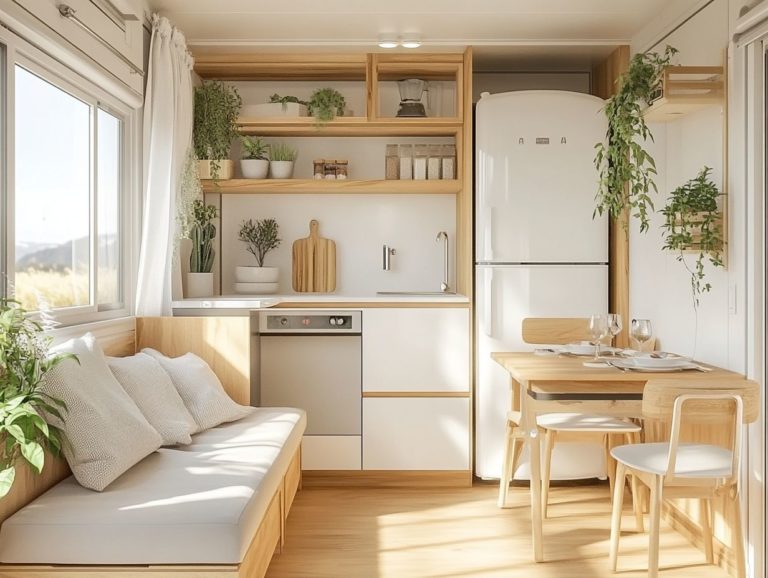
Maximizing space and functionality in a small bedroom or tiny house is crucial, and a DIY loft bed serves as a remarkable foundation for achieving this goal. Consider innovative storage solutions beneath the bed to make the most of every inch of floor space.
By integrating these solutions, you can efficiently utilize every inch of space. Think about a multi-functional design that supports sleeping while also creating inviting reading nooks or study areas, transforming your children s bedroom into a versatile haven of creativity and comfort.
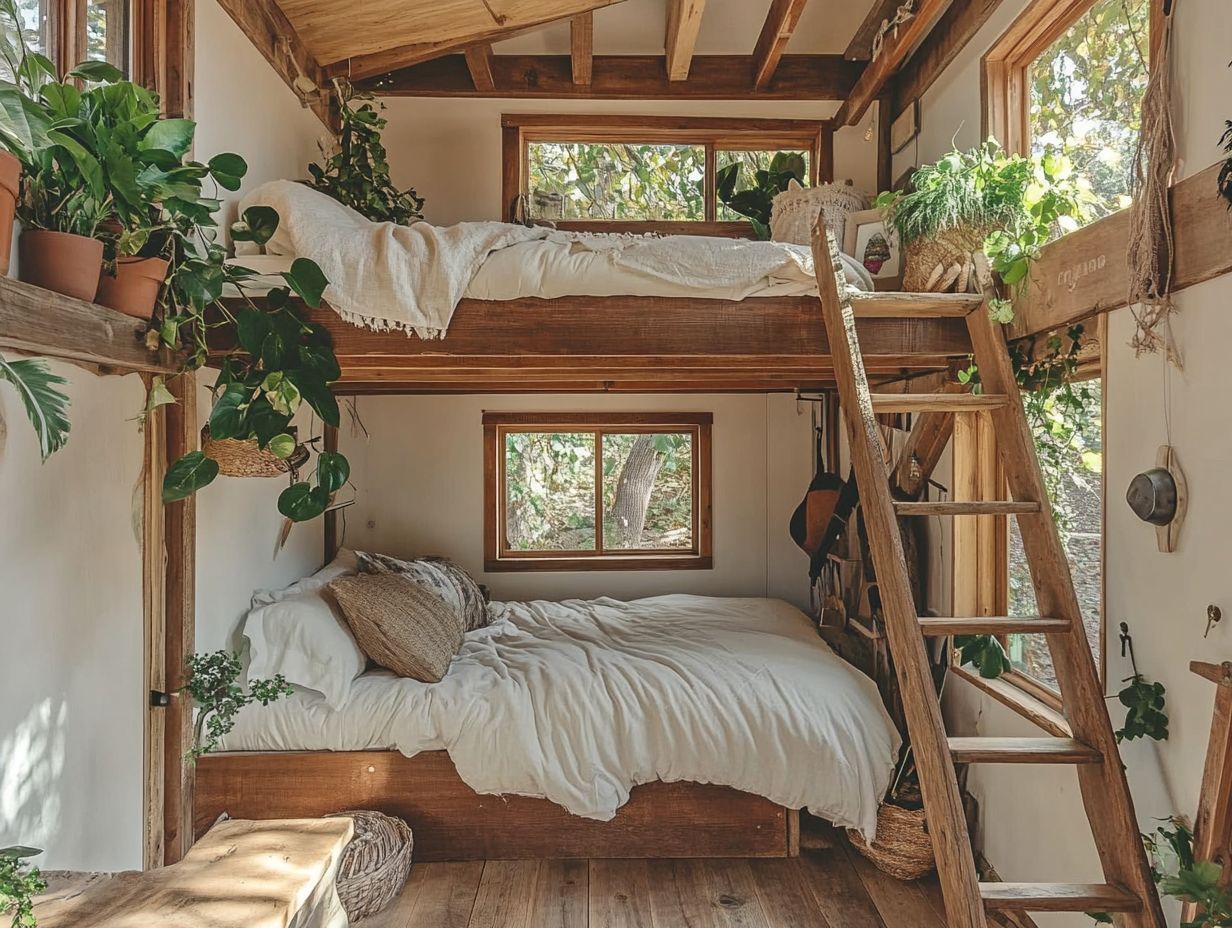
Storage Solutions and Multi-Functional Design
Implementing effective storage solutions in your DIY loft bed can elevate a simple design into a multi-functional haven, perfect for kids’ bedrooms.
Consider adding drawers, shelves, or even a cozy reading nook beneath the loft to maximize space and functionality.
This design can help keep your children s space organized and visually appealing. With thoughtful design choices, your loft bed can accommodate play and study areas, making it a versatile part of the room.
By integrating storage bins or hanging organizers, you can keep toys, books, and school supplies neatly tucked away yet easily accessible.
Utilizing vertical space with hooks or pegboards can transform an underutilized area into a stylish display for art projects or backpacks.
This enhances practicality while contributing to a visually appealing environment that inspires creativity and organization.
Opting for a cozy beanbag or a small table for arts and crafts can further enrich the space, turning it into a delightful retreat for relaxation and learning.
With these enhancements, the loft bed becomes more than just a sleeping area; it evolves into a vibrant hub for all the activities that fill your child’s daily life.
Cost Comparison to Pre-Made Loft Beds
When contemplating whether to craft a loft bed or opt for a pre-made version, it’s wise to conduct a cost comparison.
You ll find that DIY projects often provide substantial savings while allowing for personal touches.
By building your own loft bed, you can create a cost-effective furniture solution, handpicking the materials and features that perfectly align with your needs without straining your budget.
Furthermore, the beauty of DIY plans lies in their ability to yield unique and affordable designs, tailored specifically to your space.
Don t miss out on the chance to save while creating something uniquely yours!
Is DIY Worth the Savings?
Evaluating whether DIY loft beds are worth the savings requires you to consider both the financial implications and your personal satisfaction.
While ready-made options might appear convenient, crafting your own loft bed can lead to cost-effective solutions that offer greater value, particularly when you factor in customization and the quality craftsmanship that comes from your own woodworking endeavors.
However, the time and effort involved in handmade projects can be intimidating for some, potentially overshadowing the fulfillment that comes from a completed piece.
If you’re new to woodworking, you might face challenges that could compromise the quality of your work, resulting in a structure that may not meet your long-term needs.
However, pre-made loft beds, while generally pricier, often include warranties and guarantees, alleviating any maintenance worries.
As you weigh these factors, it’s essential to consider your skill level, desired aesthetics, and the balance between personal dedication and practicality to determine the best choice for your space.
Safety Considerations
Safety considerations should be at the forefront when you embark on constructing a DIY loft bed.
Prioritizing stability and proper installation will greatly minimize the risk of accidents.
By adhering to safety guidelines throughout the assembly process, you reinforce how strong the bed is.
Incorporate essential features like guardrails to keep users safe, particularly in children’s bedrooms.
Ensuring Stability and Proper Installation
To ensure the stability of your DIY loft bed, proper installation is crucial. This begins with laying a solid foundation and employing careful assembly techniques. By utilizing strong wood that can handle heavy weight and adhering to precise woodworking methods, you can significantly enhance the durability of your bed frame, resulting in a secure and long-lasting structure.
Opting for a sturdy hardwood or plywood will provide the necessary strength, while using oversized screws or bolts ensures that the joints are secure and resistant to flexing. Don t overlook the importance of reinforcing corners with brackets; this simple step can greatly enhance stability.
As you assemble the bed, always use a level to ensure that the frame is correctly aligned. Uneven surfaces can lead to a wobbly experience. Make sure to distribute weight evenly across the bed frame consider integrating cross supports for added stability.
When possible, consult with experienced builders or follow detailed plans. This approach can lead to superior results, ensuring that your loft bed remains a safe haven for rest and relaxation.
Frequently Asked Questions
What materials do I need to build a DIY Tiny House Loft Bed?
To build a DIY Tiny House Loft Bed, you will need wood boards, screws, a drill, a saw, a measuring tape, and a level. You may also want to invest in a ladder, a mattress, and bedding for the bed.
What are the dimensions I should use for a DIY Tiny House Loft Bed?
The dimensions for a DIY Tiny House Loft Bed will vary depending on the size of your tiny house and how high you want the bed to be. Generally, the bed should be at least 6 feet long and 4 feet wide, with the loft height being at least 4 feet. However, it is important to measure your space and adjust the dimensions accordingly.
Do I need to have advanced carpentry skills to build a DIY Tiny House Loft Bed?
No, you do not need advanced carpentry skills to build a DIY Tiny House Loft Bed. However, it is important to have some basic knowledge and experience with using tools such as a saw and drill. If you are unsure of your skills, it may be helpful to consult a professional or do some research beforehand.
Can I customize the design of my DIY Tiny House Loft Bed?
Absolutely! Building a DIY Tiny House Loft Bed allows for endless customization options. Unleash your creativity! Customize your loft bed to fit your style by choosing the type of wood, the color, and even adding additional features such as built-in shelves or a desk underneath the bed.
How long does it take to build a DIY Tiny House Loft Bed?
The time it takes to build a DIY Tiny House Loft Bed will vary depending on your level of experience, the complexity of your design, and the availability of tools and materials. It could take anywhere from a day to a few weeks. It is important to be patient and take your time to ensure the bed is sturdy and safe.
Is it safe to build a DIY Tiny House Loft Bed without professional help?
Building a DIY Tiny House Loft Bed can be done safely without professional help as long as you follow proper guidelines and precautions. Make sure the bed is sturdy and secure before using it. If you have any doubts, consult a professional immediately to ensure safety!