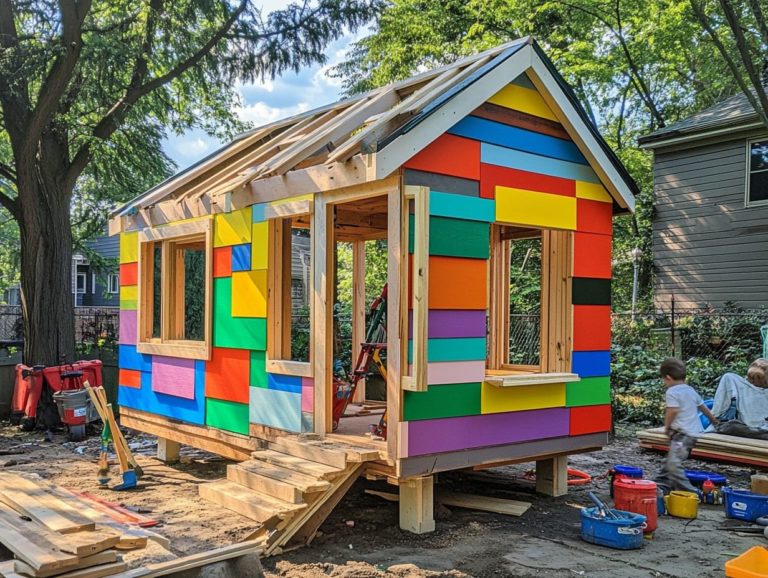
Step-by-Step Guide to DIY Tiny House Shelves
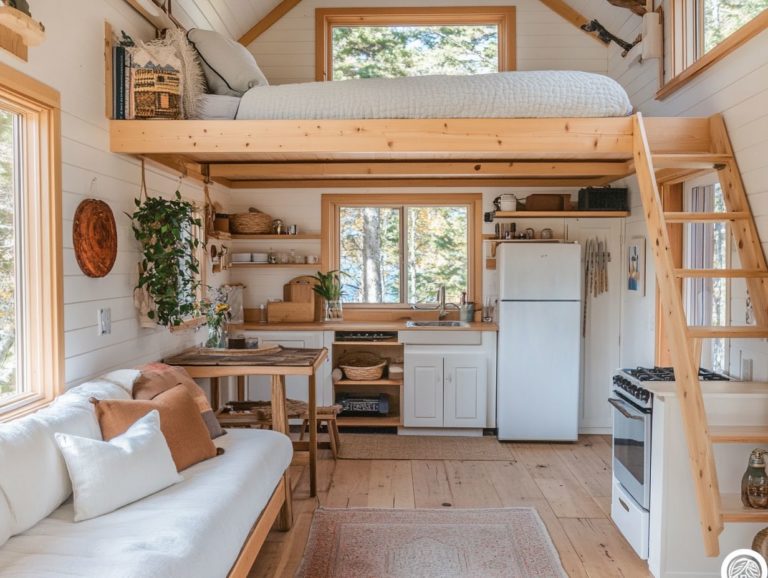
Tiny houses focus on maximizing space and functionality, and there s no better way to elevate your cozy abode than with custom DIY shelves.
This comprehensive DIY project guide outlines the essential materials and tools you ll need, along with step-by-step instructions for constructing sturdy shelves. You’ll also discover tips for personalizing and decorating your shelves to showcase your unique style.
This guide also includes tips for organization and maintenance to keep your shelves in top shape. Transform your tiny living space into something truly special!
Contents [hide]
- Key Takeaways:
- Materials and Tools Needed
- Step-by-Step Instructions
- Tips for Customizing and Decorating
- Maintenance and Troubleshooting
- Frequently Asked Questions
- What materials do I need to build DIY tiny house shelves?
- How can I design my own unique tiny house shelves?
- Do I need any special skills to build DIY tiny house shelves?
- What are some tips for installing tiny house shelves?
- Can I customize the size and shape of my tiny house shelves?
- How can I make my tiny house shelves look more aesthetically pleasing?
Key Takeaways:
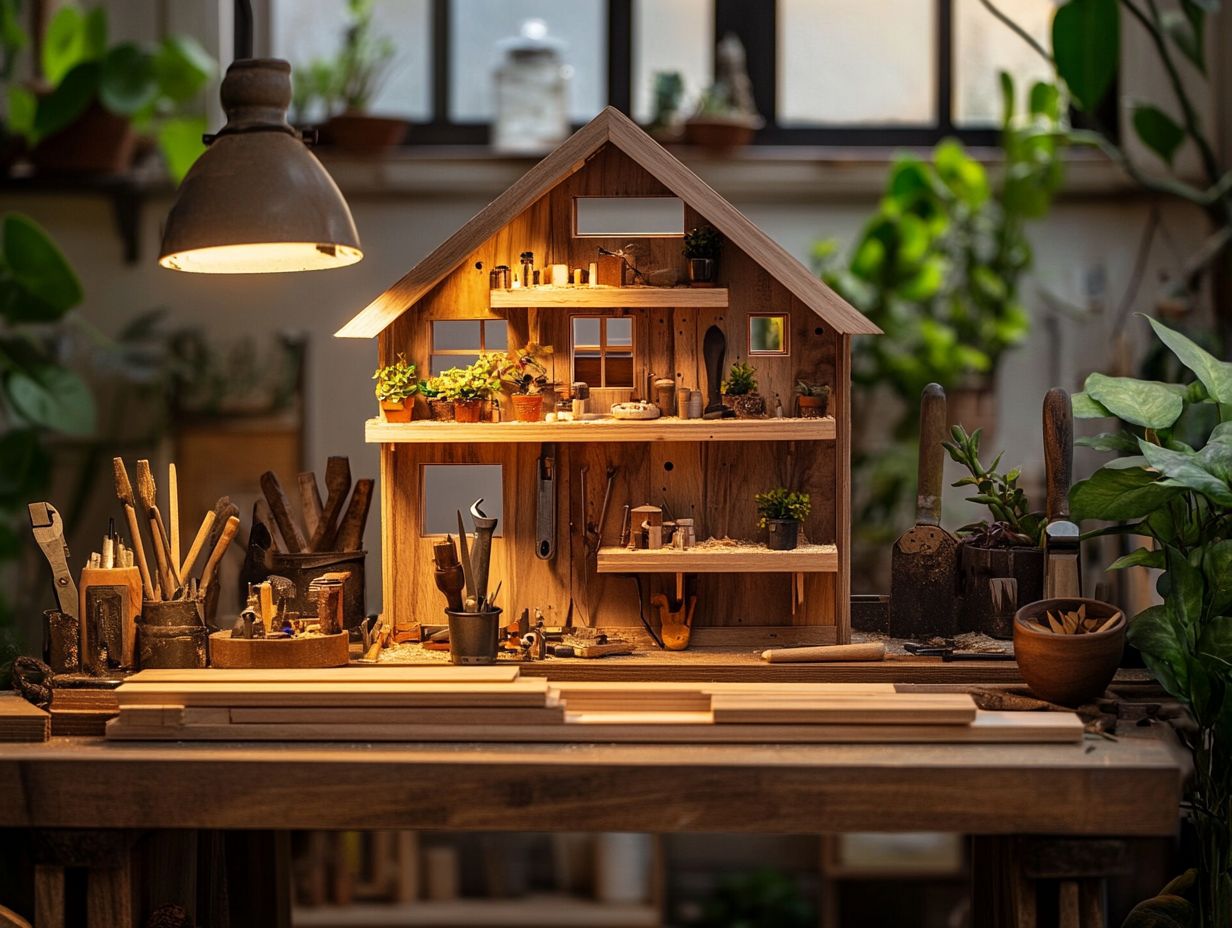
- DIY tiny house shelves are a cost-effective and customizable solution for maximizing space.
- Essential supplies include basic tools, lumber, and hardware.
- Follow instructions for measuring, building, and finishing your shelves.
What is a Tiny House and Why DIY Shelves?
A tiny house is your gateway to compact living, carefully made to make the best use of space while keeping building costs in check. It s an appealing choice if you’re seeking a more sustainable lifestyle.
Incorporating DIY projects, like building floating shelves, not only elevates the aesthetic but also meets your need for efficient storage. These DIY shelves can offer creative solutions for organizing tools, equipment, and essentials in your limited space, making them a favorite among tiny home enthusiasts eager to optimize their workshop and overall living environment.
The essence of a tiny house centers around simplicity and minimalism, encouraging you to live with less while embracing a more intentional lifestyle. By opting to downsize, you may find reduced building costs, allowing you to invest in essential upgrades or adventures. Embracing minimalism often requires smart organization, where DIY projects, particularly DIY shelves, prove invaluable.
Such organizational tips help you maximize vertical space and create a personalized environment where every inch serves a purpose. These shelves cater not only to the demands of daily life but also enhance your overall aesthetic, seamlessly blending functionality with creativity. It’s about making those workshop updates a natural part of your everyday living.
Materials and Tools Needed
To embark on your DIY shelving project, it s essential to assemble the right materials and tools for a successful build. Start with key construction materials such as plywood sheets, wood screws, and robust storage solutions.
For the necessary power tools, consider investing in a miter saw (used for making precise cuts at different angles), a circular saw, and a drill, among others. These tools will streamline the processes of cutting, assembling, and securing your shelving units, ensuring a solid and dependable support system for your wooden shelves.
Essential Supplies for Building Shelves
When you embark on constructing your DIY floating shelves, having the right essential supplies is critical. Key items include high-quality plywood sheets, durable wood screws, and a reliable nail gun to ensure a sturdy build. These supplies won t just streamline the process; they ll also enhance the overall durability and aesthetic of your shelves, making them perfect for any workshop space.
For the best results, opt for premium materials like thick plywood sheets, which provide the necessary strength and longevity. Quality wood screws are equally crucial, as they prevent any sagging or warping over time.
Using a nail gun and other power tools can significantly speed up your construction, allowing for a smoother assembly process. Incorporating items like a power drill and clamps further ensures precision and ease, resulting in a polished final product.
By prioritizing these essential supplies, you lay the groundwork for successful and visually appealing shelving solutions that add both functionality and charm to your environment.
Step-by-Step Instructions
Creating your own DIY floating shelves involves several essential steps that set the stage for a successful and visually striking project. From prep planning to attaching the shelves, each phase demands your careful attention to detail and precise execution.
By following a structured guide and using the right support system, you ll craft durable shelving that not only elevates your workshop space but also offers practical storage solutions.
Preparing the Space and Measuring
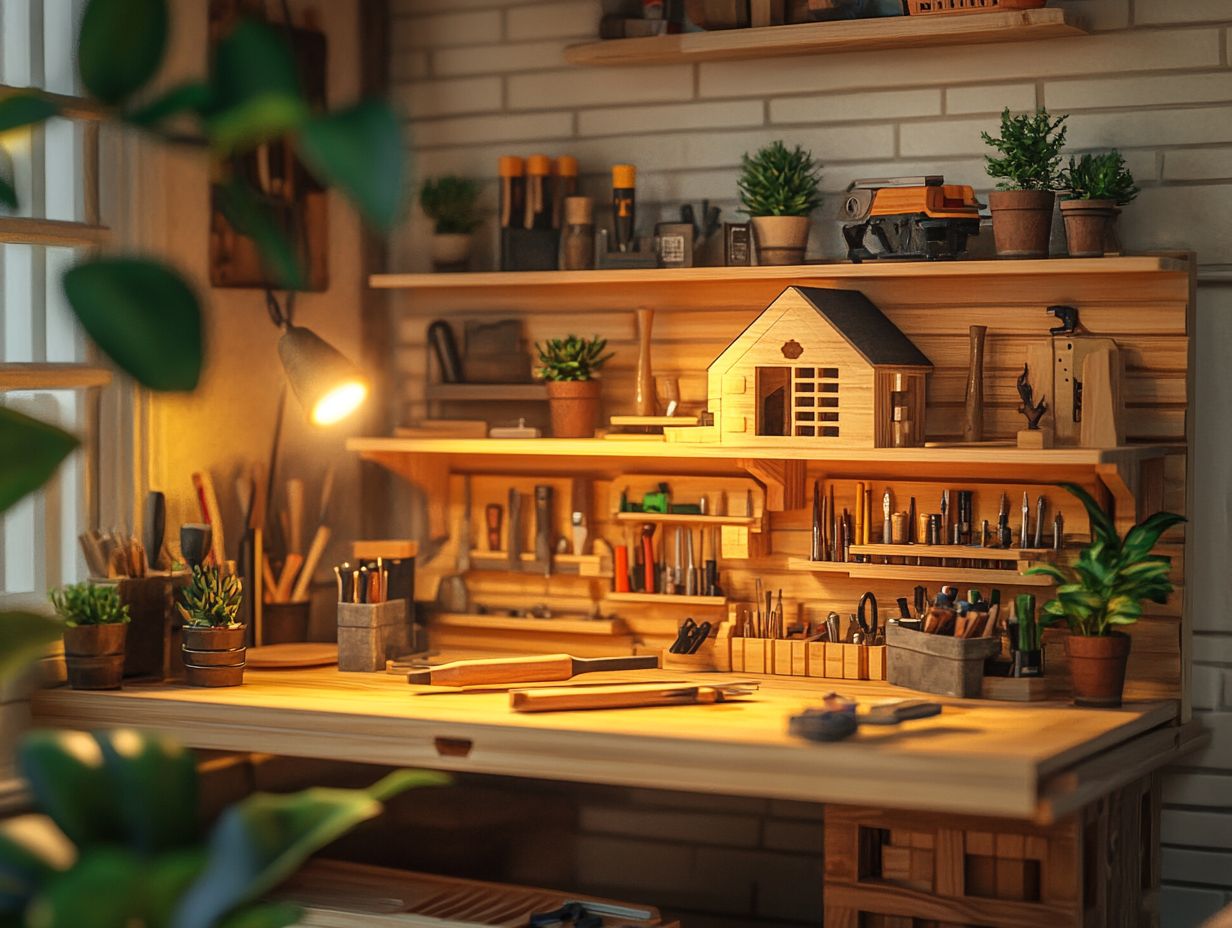
Before starting your DIY floating shelves, careful preparation is key. Choose a suitable wall color, measure the area accurately, and ensure your installation will be level.
Use tools like a measuring tape and a level to visualize your design and ensure your shelves align perfectly, marrying functionality with aesthetic appeal.
Choosing the right wall color can dramatically transform the overall ambiance of the room. It serves as the perfect backdrop for your shelves and the items they will showcase. A carefully selected hue can elevate your decor style, creating a harmonious and cohesive appearance.
Precision in your measurements is crucial. Using a measuring tape ensures that your shelves fit seamlessly within the intended space. This careful attention to detail can save you from costly blunders later on.
Equally important is the use of a level. It not only aids in aligning your shelves but also ensures they remain functional and visually pleasing, free from any awkward tilts.
Building the Frame
Building the frame for your DIY floating shelves is a foundational step that requires careful attention and the right construction materials. By utilizing wood screws and a nail gun, you ensure that your frame is sturdy and secure, making it perfect for heavy-duty storage.
This sturdy frame is crucial! It will be the backbone of your shelves, maximizing your workspace and enhancing its look.
Choosing high-quality plywood or solid wood is essential for durability. These materials provide the strength you need and resist warping over time.
As you create this frame, remember that applying wood screws is key; they offer a more reliable bond than traditional nails, while the nail gun speeds up the assembly process significantly.
With these tools in hand, you can facilitate a streamlined workflow and make precise adjustments that enhance the overall functionality of your workshop. This well-built frame will not only hold your tools and materials but also contribute to a clean and organized environment.
Attaching the Shelves
Attaching the shelves securely is essential for ensuring they can support the intended weight. By using a reliable support system and quality wood screws, you ll gain the stability and durability needed for a successful installation.
Keep a level handy throughout the process to maintain accuracy, transforming your DIY project into a functional and stylish enhancement to your space.
Selecting the right type of wood screws that match both the shelf material and the supporting structures is important. Drilling pilot holes will help prevent the wood from splitting, allowing for a snug fit and reducing the risk of future sagging.
Incorporating brackets or cleats can significantly boost the overall strength of your installation, enabling you to store heavier items with confidence.
Regularly checking with a level ensures a straight-line aesthetic and plays a crucial role in preserving the integrity of the shelves over time.
Now, grab your tools and get ready to transform your space!
Finishing Touches
The finishing touches on your DIY floating shelves can significantly elevate both their appearance and durability. Sanding the surfaces will give you a smooth, refined finish. Applying a stain that complements your wall color can enhance the overall aesthetic. These thoughtful details transform a simple DIY project into a stunning centerpiece, whether in your workshop or home.
Proper sanding removes rough edges and prepares the wood to absorb the stain evenly. This results in richer hues that beautifully highlight the natural grain. Think about how these enhancements can harmonize with your existing decor; it underscores the importance of aesthetics in all DIY endeavors.
Selecting the right stain can infuse warmth and depth into your shelves. This ensures they serve not just a functional purpose but also radiate style and sophistication. Investing time in these finishing touches allows you to create pieces that truly reflect your personal taste, elevating the design of any room.
Tips for Customizing and Decorating
Customizing and decorating your DIY floating shelves lets you infuse your space with personality while maximizing storage efficiency. Consider incorporating a bookshelf that leans against the wall or selecting decorative wooden shelves that reflect your unique style.
By employing creative solutions, you elevate the visual appeal of your environment and ensure you re making the most of every inch of available space.
Maximizing Space and Adding Personal Touches
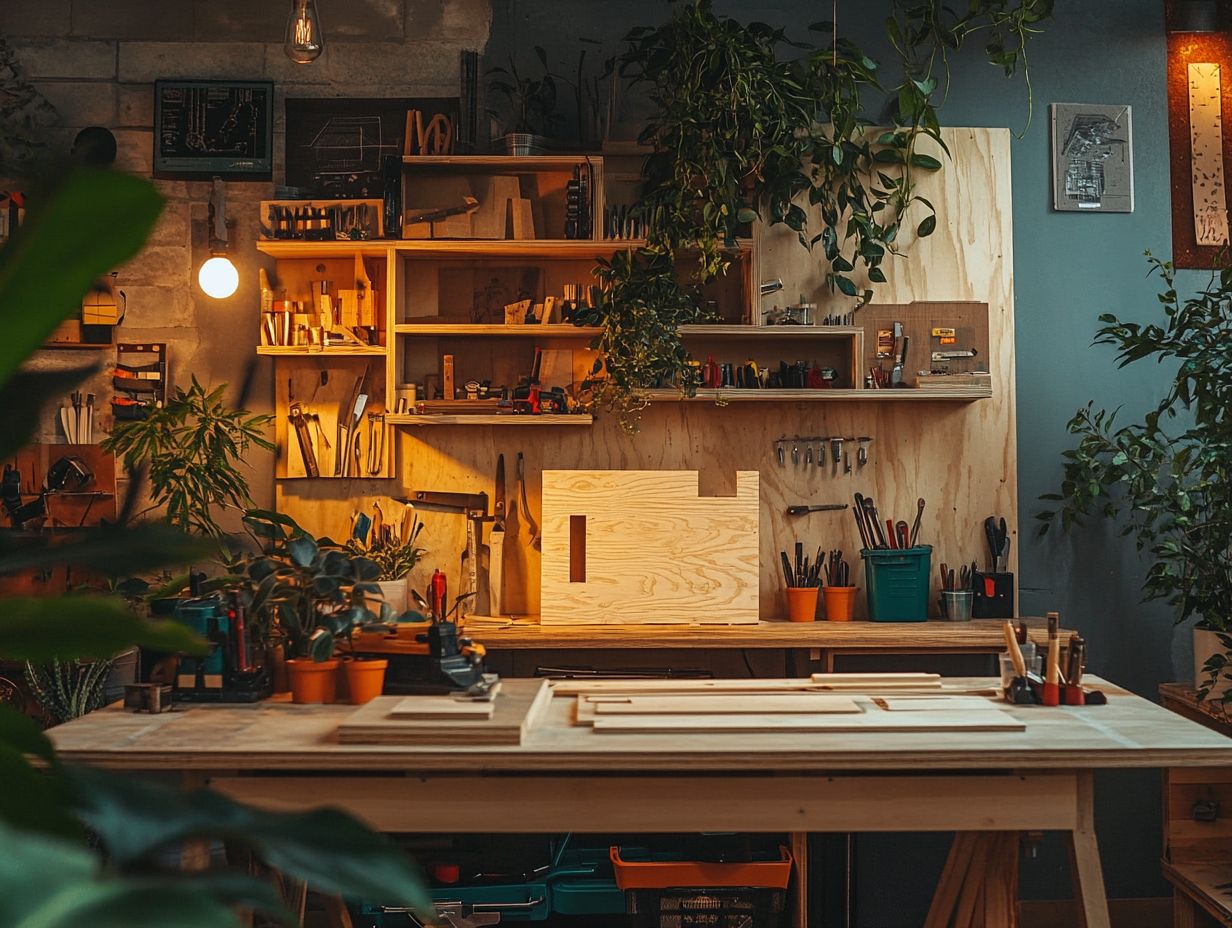
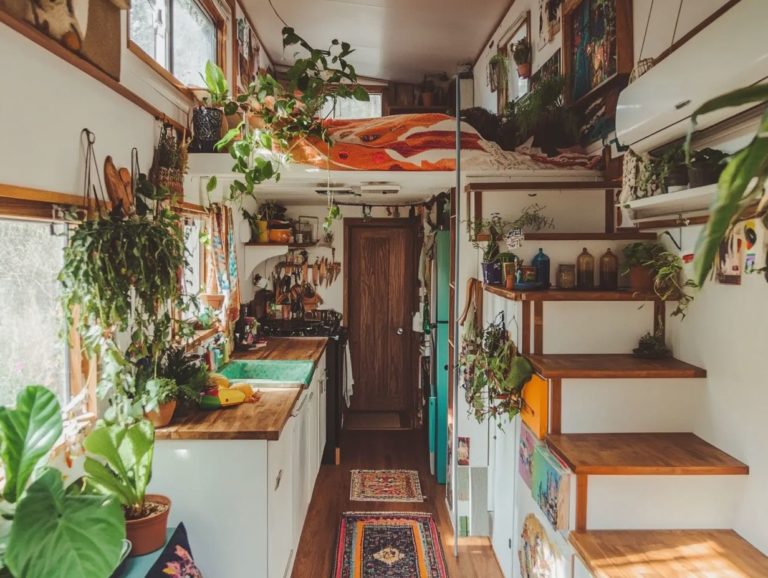
Maximize your space and add personal touches to your DIY floating shelves. Organize items by category and use decorative boxes or labels for easy access, especially in a tiny house where every inch counts.
Thoughtfully arranging your workspace reflects your unique personality. Group similar items like books, plants, or craft supplies to enhance both aesthetics and functionality. This method simplifies locating what you need and makes maintaining order a breeze.
Incorporate decorative elements like vibrant baskets or chic labels. This serves a dual purpose: elevating visual appeal while reinforcing organization. Embrace your individual style with pieces that resonate with your taste, ensuring your personality shines through, making the shelves a true reflection of you perfect for any DIY project.
Maintenance and Troubleshooting
Maintaining your DIY floating shelves is crucial for their longevity and functionality. Regularly inspect them for signs of wear, such as loose screws or structural concerns. This allows you to address common issues before they escalate and ensures they remain a reliable support system.
Implement routine maintenance practices to keep your shelves sturdy and enhance the overall safety of your workshop space, especially when using power tools.
Keeping Shelves Sturdy and Addressing Common Issues
To keep your DIY floating shelves sturdy, check the tightness of wood screws regularly and evaluate the integrity of the shelves. This helps you avoid potential hazards. By promptly addressing common issues, you ensure your shelves remain functional and safe for storing items in your workshop.
Regularly examine the brackets and wall anchors, as these components support the weight of the shelves. A simple visual check for signs of wear or looseness can make a significant difference. If you notice any wood screws that appear stripped or damaged, replace them with robust alternatives to maintain strength.
Ensuring that the shelves are level enhances their appearance and distributes weight evenly, minimizing stress on the connections. Use these troubleshooting techniques to maintain a safe and durable storage solution for all your workshop needs.
Frequently Asked Questions
What materials do I need to build DIY tiny house shelves?
To build your own tiny house shelves, you will need wood boards, screws, a drill, a saw, a measuring tape, and a level.
You may also want to have sandpaper, wood stain or paint, and a paintbrush if you would like to add a finished look to your shelves.
How can I design my own unique tiny house shelves?
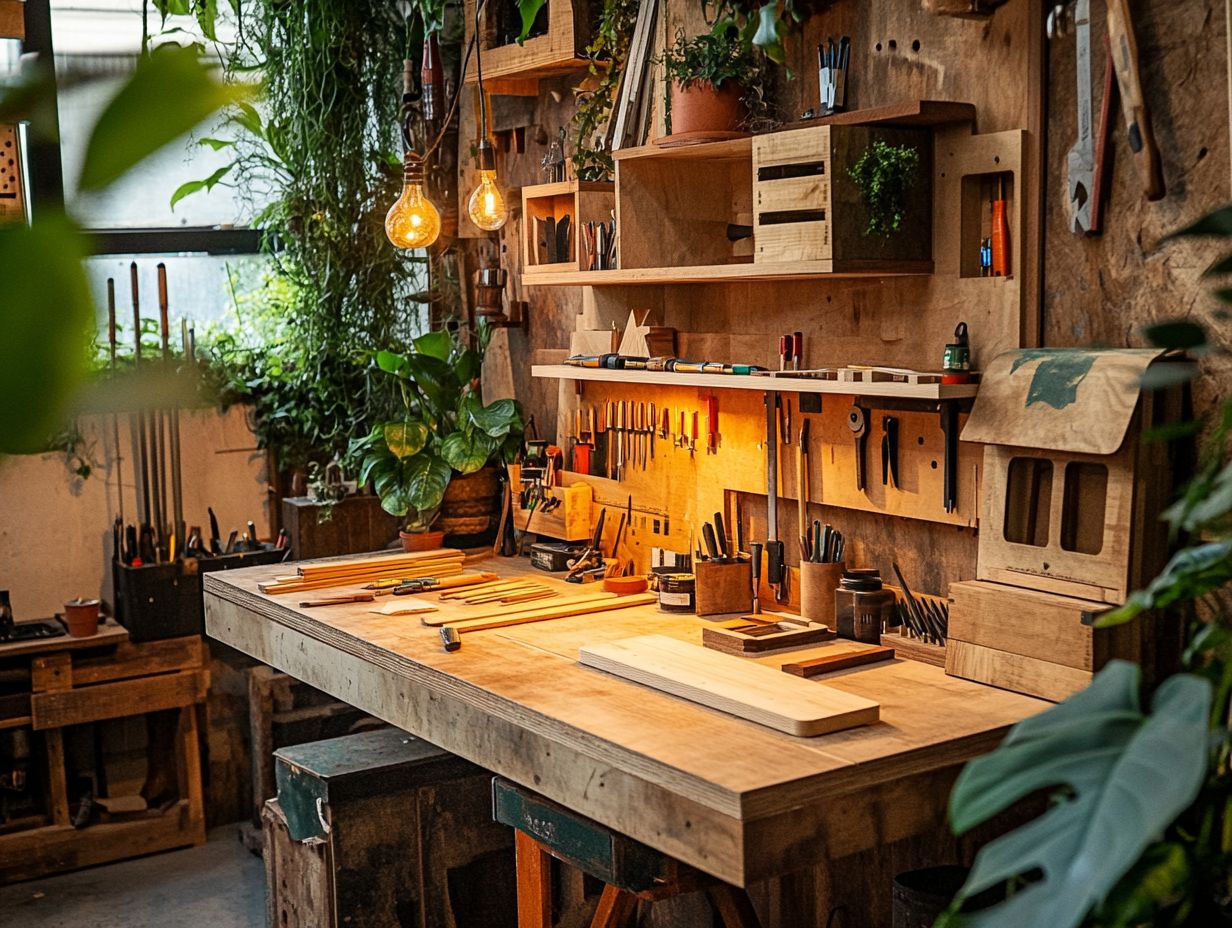
Measure the space where you want to install the shelves. Then, sketch your desired design on paper or use design software for a digital mockup.
Once you have a design you like, gather materials and start building your shelves.
Do I need any special skills to build DIY tiny house shelves?
No, you do not need any special skills to build DIY tiny house shelves. As long as you can use basic tools like a drill and saw, and follow step-by-step instructions, you should be able to successfully build your own shelves.
What are some tips for installing tiny house shelves?
Use a tool to locate the wooden supports in your wall. This will ensure that your shelves are securely attached.
Make sure to use a level to ensure that your shelves are straight and evenly spaced.
Can I customize the size and shape of my tiny house shelves?
Yes, you can customize the size and shape of your shelves to fit your specific needs and space.
Just make sure to measure carefully and adjust your design accordingly before cutting any wood boards.
How can I make my tiny house shelves look more aesthetically pleasing?
You can add a touch of style to your shelves by sanding down rough edges, staining or painting the wood, and adding decorative elements like brackets or trim.
You can also use baskets, bins, or other containers to organize and display your items on the shelves.
Get started on your DIY shelves today and transform your tiny space into something incredible!

