Tiny House Décor: DIY Projects that Inspire
In a world where compact living spaces are all the rage, find exciting ways to enhance your home s charm. This article delves into a range of DIY projects designed to maximize functionality while infusing your space with character.
Imagine transforming old pallets into breathtaking vertical gardens or upcycling vintage suitcases into one-of-a-kind shelves. These ideas will empower you to make the most of your cozy abode.
Prepare to unleash your creativity and elevate your d cor to new heights!
Contents [hide]
- Key Takeaways:
- 1. Grow a Stunning Vertical Garden with Pallets!
- 2. Make Your Own Rustic Headboard
- 3. Transform Old Windows into a Coffee Table
- 4. Use Mason Jars as Light Fixtures
- 5. Repurpose Vintage Suitcases as Shelves
- 6. Build a Murphy Bed for Space-Saving
- 7. Use Stencils to Add Patterns to Walls
- 8. Turn an Old Door into a Dining Table
- 9. Create a Cozy Reading Nook with a Hammock
- 10. Use Driftwood to Make Unique Wall Art
- 11. Make Your Own Macrame Plant Hangers
- 12. Upcycle Old Tires into Ottoman Seats
- 13. Use Recycled Pallets to Make a Kitchen Island
- 14. Build a Tree Branch Clothes Rack
- 15. Use Wine Corks to Make a Decorative Bulletin Board
- Frequently Asked Questions
- What is Tiny House D cor?
- Why should I consider DIY Projects for my Tiny House D cor?
- What are some popular DIY projects for Tiny House D cor?
- How do I get inspiration for DIY projects for my Tiny House D cor?
- Do I need to be skilled or experienced in DIY to tackle projects for my Tiny House D cor?
- How can I ensure my DIY projects for Tiny House D cor are safe and functional?
Key Takeaways:
- Transform everyday items, such as pallets and old windows, into functional and unique d cor for your tiny house.
- DIY projects save space and add a personal touch to your tiny home.
- Get creative with repurposing items like mason jars, vintage suitcases, and wine corks to add character and charm to your tiny house d cor.
1. Grow a Stunning Vertical Garden with Pallets!
Creating a vertical garden with pallets is an excellent way to maximize space in your tiny home while bringing natural beauty and functionality to your outdoor area. This project is perfect for anyone embracing a simple design and the tiny house movement.
To embark on this rewarding journey, start by selecting a sturdy pallet that fits your aesthetic and spatial needs. Prepare the pallet by sanding it down to prevent splinters. You might also want to apply a safe coating that protects wood if that suits your style.
Next, attach landscape fabric to the back and sides; this will help retain soil while allowing for proper drainage. Fill the sections with potting soil and choose a variety of plants think herbs, succulents, or flowering vines that thrive in vertical settings.
Using natural materials not only promotes sustainability but also enriches your environment, contributing to a healthier home. This project shows how creativity and resourcefulness can align with the tiny house movement, offering practical solutions that elevate both your living space and lifestyle.
2. Make Your Own Rustic Headboard
Creating your own rustic headboard can be an incredibly rewarding DIY project that enhances the cozy charm and aesthetic of your tiny home. It allows you to infuse your space with reclaimed wood and unique architectural details.
With carefully chosen materials, you can craft a stunning focal point that beautifully complements your decor. Start by sourcing reclaimed wood, such as barn wood, pallet wood, or weathered oak, to bring character and history into your project.
The process involves measuring your bed size, cutting the wood to fit, and securely assembling the pieces. Consider a variety of color options: perhaps a natural finish to showcase the wood’s grain or a distressed paint for that delightful shabby chic vibe.
Once completed, this headboard will enhance farmhouse interiors and adapt seamlessly into Scandinavian designs, creating a serene and minimalistic look that radiates warmth and style.
3. Transform Old Windows into a Coffee Table
Transforming old windows into a coffee table offers a fantastic opportunity to repurpose vintage materials, infusing your tiny home with charm and creating a unique focal point. This project beautifully aligns with the principles of the Handcrafted Movement and sustainable living.
By taking on this project, you can breathe new life into forgotten treasures while showcasing your personal style and creativity. Start by carefully removing the old window frames while ensuring they stay intact. A pry bar and hammer will help just remember to handle them with care to avoid any breakage.
Once you ve dismantled the frames, think about how you d like to arrange them. Stacking them in a layered effect can add appealing depth. Consider integrating storage solutions, like placing a wooden shelf between the frames, to turn your coffee table into a practical piece.
This way, you can leave space for decorative accents like candles or flowers that complement your home s aesthetic.
4. Use Mason Jars as Light Fixtures
Using mason jars as light fixtures is a brilliant way to inject personality into your tiny home. This approach offers both functional illumination and decorative flair that complements various design styles, from rustic cabin charm to sleek modern coastal vibes.
By selecting different sizes and shapes of mason jars, along with diverse light bulbs and thoughtful arrangements, you can easily create a personalized lighting setup that reflects your unique taste.
To kick off this creative endeavor, gather the essential materials for your home office or any other space:
- Mason jars
- Light sockets
- Hanging wire
- Bulbs
- Ceiling mounts
Begin by choosing your jars based on the ambiance you wish to create. Clear jars will bring a bright, airy feel, while frosted ones will cast a softer glow. Once you ve prepared the jars, carefully attach the light socket inside, run the wire through the lid, and secure everything neatly.
Experimenting with different bulb types, such as Edison or LED, can elevate the atmosphere even further. This allows you to craft a warm, inviting space or a sleek, modern aesthetic. Consider how you arrange your fixtures; hanging multiple jars at varying heights adds visual intrigue and transforms any room into a beautifully illuminated haven!
5. Repurpose Vintage Suitcases as Shelves
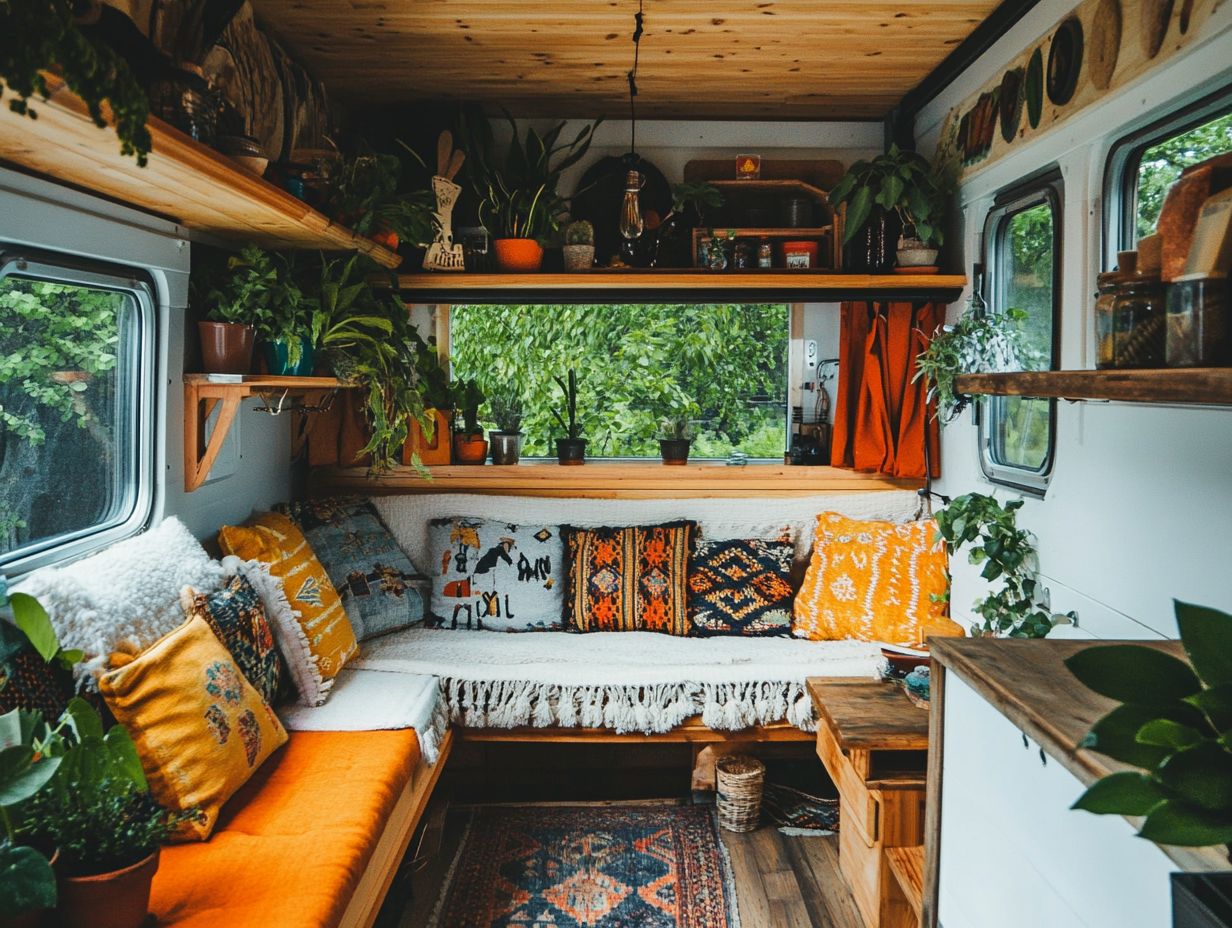
Repurposing vintage suitcases as shelves showcases your eclectic style in a tiny home. This creates unique storage solutions that infuse character and practicality into your living space and align with the principles of the tiny house movement.
Secure these charming pieces to the wall or sturdy furniture to craft floating shelves that not only save floor space but also serve as intriguing conversation starters. Start by ensuring your suitcases are clean and intact, then choose a location that offers easy access and visibility.
Utilize robust mounting brackets to safely affix the suitcases, ensuring they can support the weight of books, plants, or decorative items. When arranging these treasures, think about varying heights and textures to create visual interest. For instance, pairing lush greenery with vintage trinkets can warm up the shelves and make them feel personal.
Ultimately, the thoughtful curation of these floating shelves allows you to express your individual tastes and creativity through a functional display!
6. Build a Murphy Bed for Space-Saving
Building a Murphy bed is a smart furniture solution to maximize space in your tiny home. It offers a multifunctional design that lets you enjoy a comfortable sleeping arrangement without sacrificing precious floor area.
This clever piece of furniture boosts the usability of your limited space and integrates seamlessly with a variety of interior styles. To get started, gather the following materials:
- Plywood
- 2×4 lumber for the frame
- A mattress of your choice
- Mounting hardware
- A folding mechanism
Start by constructing the bed frame, cutting the plywood to your desired dimensions. Assemble the frame carefully, making sure it securely supports the mattress. Then, attach the folding mechanism to the wall for easy access when opening and closing the bed.
The versatility of a Murphy bed makes it ideal for minimalist interiors that value simplicity, as well as industrial spaces that embrace raw materials and functionality. By incorporating a Murphy bed, you can effortlessly transform any room, accommodating guests while keeping your personal style intact!
7. Use Stencils to Add Patterns to Walls
Using stencils to add patterns to your walls can dramatically transform the interior of your tiny home. This approach introduces vibrant colors and visual interest, allowing you to express your personal taste through creative design choices.
You can find many stencils, from intricate designs to bold geometric shapes, each bringing its own unique character to your space. Techniques for applying these stencils include sponging, brushing, and even spray painting, depending on the look and texture you want to achieve.
When selecting a color palette, consider opting for calming greens and soft blues to create serene environments. Alternatively, choose bright yellows and reds for lively accents that energize the atmosphere. The patterns you choose can change the look and feel of your space significantly, transforming a simple room into a captivating sanctuary or an entertaining haven!
8. Turn an Old Door into a Dining Table
How about turning that old door into something beautiful? This delightful DIY project not only breathes new life into discarded materials but also infuses rustic elegance into your tiny home, embodying the principles of sustainable living.
This transformation invites your creativity while making use of what might have been destined for the landfill. Start by giving that door a thorough cleaning, ensuring you remove any lingering hardware or paint residues that could interfere with the finish.
Next, choose sturdy legs or supports to guarantee durability. Think about metal frames for an edgy vibe or wooden legs for a timeless classic look. Once you ve secured the structure, a good sanding will make the surface smooth, setting the stage for stains or paints that match your aesthetic.
Not only will this table serve its purpose, but it will also become an eye-catching conversation starter, seamlessly fitting into a range of interior styles from country chic to modern minimalism!
9. Create a Cozy Reading Nook with a Hammock
Creating a cozy reading nook with a hammock in your tiny home offers an exquisite blend of comfort and clever space utilization. It provides the perfect escape for unwinding and diving into your favorite books!
To choose the ideal spot for this inviting setup, look for areas that bask in natural light or present a lovely view of the outdoors these elements can truly elevate your reading experience. For indoor hammocks, soft cotton or durable polyester options are excellent choices, combining comfort with style.
Once you’ve secured the perfect hammock, accessorizing your nook becomes essential. Consider adding:
- Plush cushions that beckon you to sink in.
- String lights that cast a soft, enchanting glow.
- Wall decor that showcases your personal flair, like artwork or shelves brimming with cherished books.
- Upcycling ideas that enhance your tiny house interiors.
Together, these elements work harmoniously to create that inviting, cozy atmosphere you crave!
10. Use Driftwood to Make Unique Wall Art
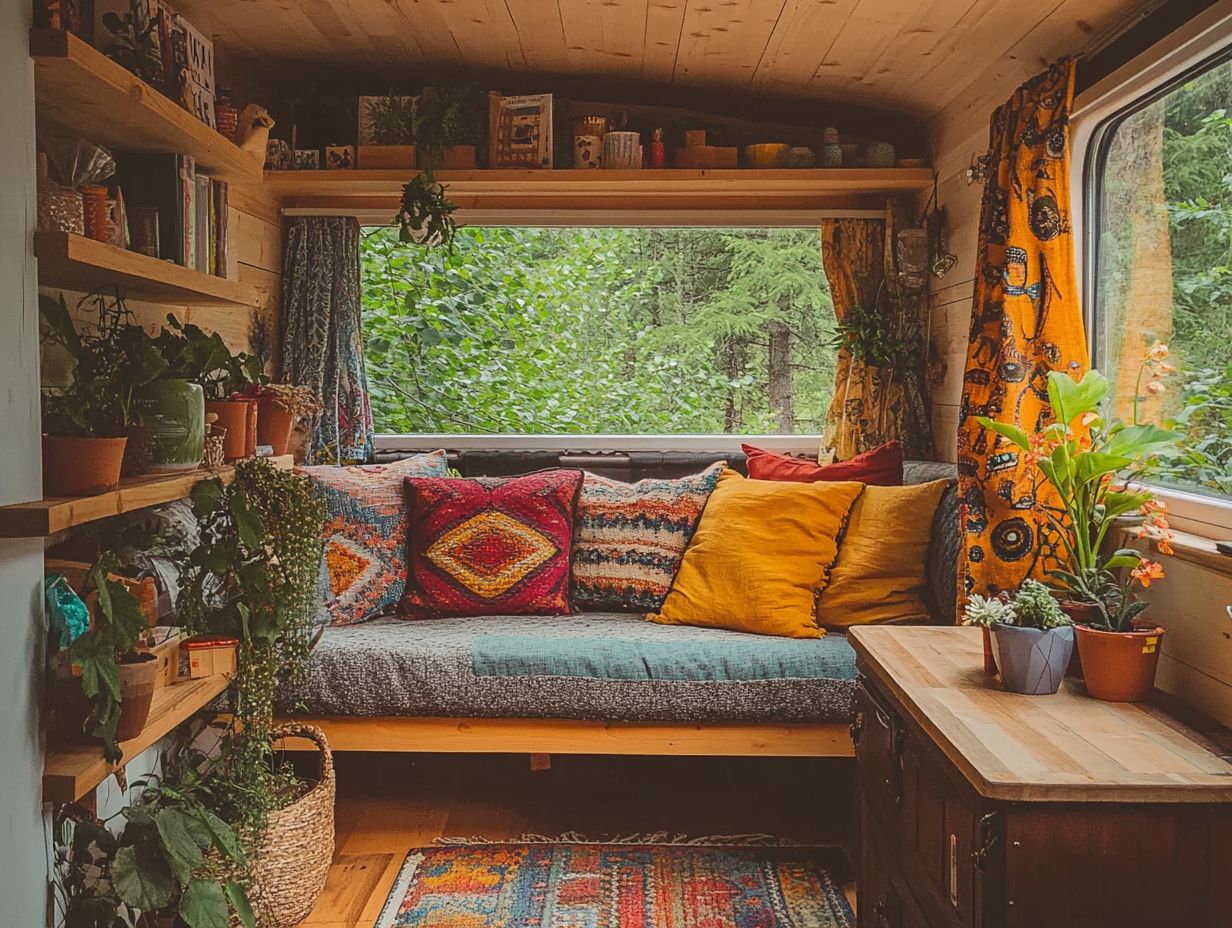
Using driftwood to craft unique wall art offers a splendid way to bring the beauty of nature into your home. It serves as an exquisite decorative accent that echoes modern coastal or rustic styles.
With just a few simple tools think saw, sandpaper, and some robust adhesive the journey of sourcing and assembling your piece transforms into a delightful adventure. Start by exploring local beaches or riverbanks, hunting for those perfect driftwood pieces that nature has lovingly polished over time. Once you ve gathered your treasures, give them a good wash and dry to remove any lingering debris.
Now, let your creativity flow! Envision a design that reflects your personal taste. Arrange the wood pieces until they coalesce into a visually captivating composition. By incorporating this project into your decor, you not only create a stunning focal point but also cultivate a warm, earthy ambiance that enriches the overall aesthetic of your home. For more inspiration, check out the top 10 DIY projects for tiny house enthusiasts.
11. Make Your Own Macrame Plant Hangers
Creating your own macrame plant hangers is a delightful way to bring greenery into your small home while adding a charming bohemian flair that beautifully complements your interior design theme.
This creative venture reflects your personal style and offers a captivating activity to unwind and deepen your connection with your space. Start crafting your hangers today by gathering a few essential materials:
- Cotton cord or rope
- A pair of scissors
- A measuring tape
- A wooden ring or dowel for support
Cut your cord into your desired lengths; typically, you’ll want around four or five strands, each measuring at least three times the height of your pot. Choose plants that thrive in hanging conditions think pothos or string of pearls to ensure they receive ample light while forming an eye-catching arrangement.
For maximum visual impact, play with varying heights and spacing of your hangers to transform your interior into a lush, inviting retreat.
12. Upcycle Old Tires into Ottoman Seats
Upcycling old tires into ottoman seats is a fun project and an eco-friendly venture that adds functionality to your tiny home while highlighting your commitment to sustainable design and creativity.
To start this innovative undertaking, thoroughly clean the tires. Use a mixture of soapy water and a scrub brush to eliminate any dirt or grime. Make sure they re completely dry before moving on.
Once they re spotless, think about wrapping the tires in a durable fabric that complements your home s decor, or get creative and paint them in vibrant shades for a striking pop of color. This adaptable furniture piece can blend into various styles, from bohemian to modern, serving as both an eye-catching statement and additional seating.
Your upcycled ottoman won’t just provide functional seating; it will also spark conversations in any room.
13. Use Recycled Pallets to Make a Kitchen Island
Creating a kitchen island from recycled pallets is a clever way to maximize space and storage in your tiny home. It infuses your kitchen with functionality and a delightful touch of rustic charm.
This exciting project embodies eco-conscious living and elevates your cooking experience by offering ample workspace for meal preparation.
Gather sturdy pallets and disassemble them with care, ensuring you have enough material for both the base and countertop. Assemble the frame to suit your desired height and width, then securely attach additional pallets to create a durable surface.
For the finishing touches, consider sanding the wood for a smooth texture. Then apply food-safe linseed oil or a waterproof sealant to safeguard against stains. This versatile island can transform into a central gathering spot, inviting family and friends to join you in cooking or simply enjoy each other s company. It ultimately turns your kitchen into a lively hub of activity.
14. Build a Tree Branch Clothes Rack
Building a tree branch clothes rack is a brilliant way to merge natural materials with practical storage solutions in your tiny home. It creates a unique environment that reflects your personal style.
This DIY project sparks your creativity and invites a hint of the outdoors into your space, creating a refreshing atmosphere that feels both airy and grounded.
To kick things off, choose a sturdy branch that s at least 1.5 inches in diameter to ensure it can handle the weight of your clothing. Once you ve found that perfect branch, give it a thorough cleaning to eliminate any dirt or debris, then cut it to your desired length based on the space you have available.
Secure the ends to the wall with wall brackets to ensure stability. This eco-friendly approach not only reduces your carbon footprint but also enhances a variety of interior styles, from rustic farmhouse to minimalist modern. By repurposing natural elements, you re not just creating a functional piece; you re also embracing sustainability in style.
15. Use Wine Corks to Make a Decorative Bulletin Board
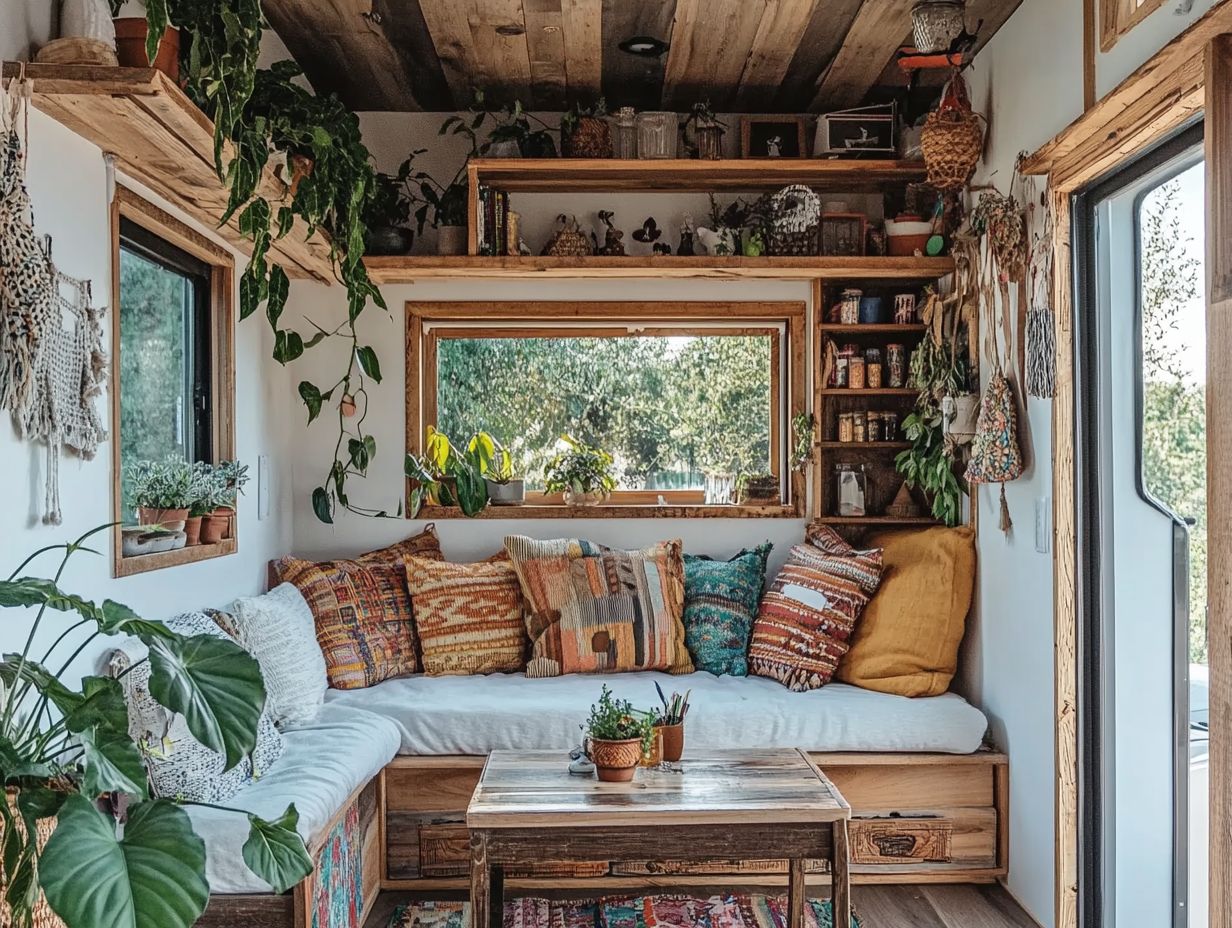
Using wine corks to create a decorative bulletin board is a delightful DIY project. It adds a personal touch to your tiny home while embracing the spirit of reuse and showcasing your creativity.
To embark on this endeavor, you ll need:
- a sturdy backing board
- a generous supply of wine corks
- a cutting tool
- strong glue or adhesive
- a frame if you prefer a polished finish
Measure and cut the backing board to your desired size. Ensure it fits perfectly in your chosen space.
Glue the corks onto the board. Arrange them in a pattern that fits your style, whether that s random or structured.
Feel free to incorporate paint, fabric, or other embellishments to give it that extra spark. This bulletin board provides a practical space for notes and reminders. It also infuses warmth and personality into your interior.
Frequently Asked Questions
What is Tiny House D cor?
Tiny House D cor refers to the interior design and decoration of small living spaces, typically under 500 square feet. This d cor style is all about making the most out of your space!
Why should I consider DIY Projects for my Tiny House D cor?
DIY projects add a personal touch to your tiny house d cor while also saving money. They let you customize your space to fit specific needs and style, often with inexpensive materials.
What are some popular DIY projects for Tiny House D cor?
Popular DIY projects include space-saving furniture, clever storage solutions, and creative wall art. Other ideas involve repurposing household items, upcycling old furniture, and adding greenery with indoor plants.
How do I get inspiration for DIY projects for my Tiny House D cor?
Find inspiration on social media platforms like Pinterest and Instagram. Home d cor blogs and tiny house tours offer unique ideas too!
Do I need to be skilled or experienced in DIY to tackle projects for my Tiny House D cor?
No, you don t need to be highly skilled or experienced. Many DIY projects for tiny homes are beginner-friendly and can be completed with basic tools and techniques.
How can I ensure my DIY projects for Tiny House D cor are safe and functional?
Research and carefully plan your DIY projects. Follow instructions and guidelines, use sturdy materials, and consult professionals if needed.

