Tips for DIY Tiny House Exterior Makeover
Tiny houses have captivated many, offering a minimalist lifestyle that comes with remarkable benefits.
Even these delightful spaces can benefit from a stunning exterior transformation. Whether you’re looking to showcase your personal style, enhance functionality, or elevate curb appeal, reimagining your tiny home’s exterior can be both thrilling and fulfilling.
This guide will walk you through everything from planning your makeover and selecting materials to deciding whether to tackle DIY projects or hire a professional. Prepare to elevate your tiny house with tips and tricks that make a significant impact!
Contents [hide]
- Key Takeaways:
- Planning Your Tiny House Exterior Makeover
- DIY vs. Hiring a Professional
- Materials and Supplies You Will Need
- Step-by-Step Guide to a Successful Makeover
- Maintaining Your New Exterior
- Frequently Asked Questions
- What are some tips for a DIY Tiny House Exterior Makeover?
- What tools and materials will I need for a DIY Tiny House Exterior Makeover?
- Looking to refresh your tiny house’s exterior without breaking the bank?
- How can I incorporate sustainability into my DIY Tiny House Exterior Makeover?
- Do I need any special skills to complete a DIY Tiny House Exterior Makeover?
- Can I still update the exterior of my tiny house if I’m renting it?
Key Takeaways:
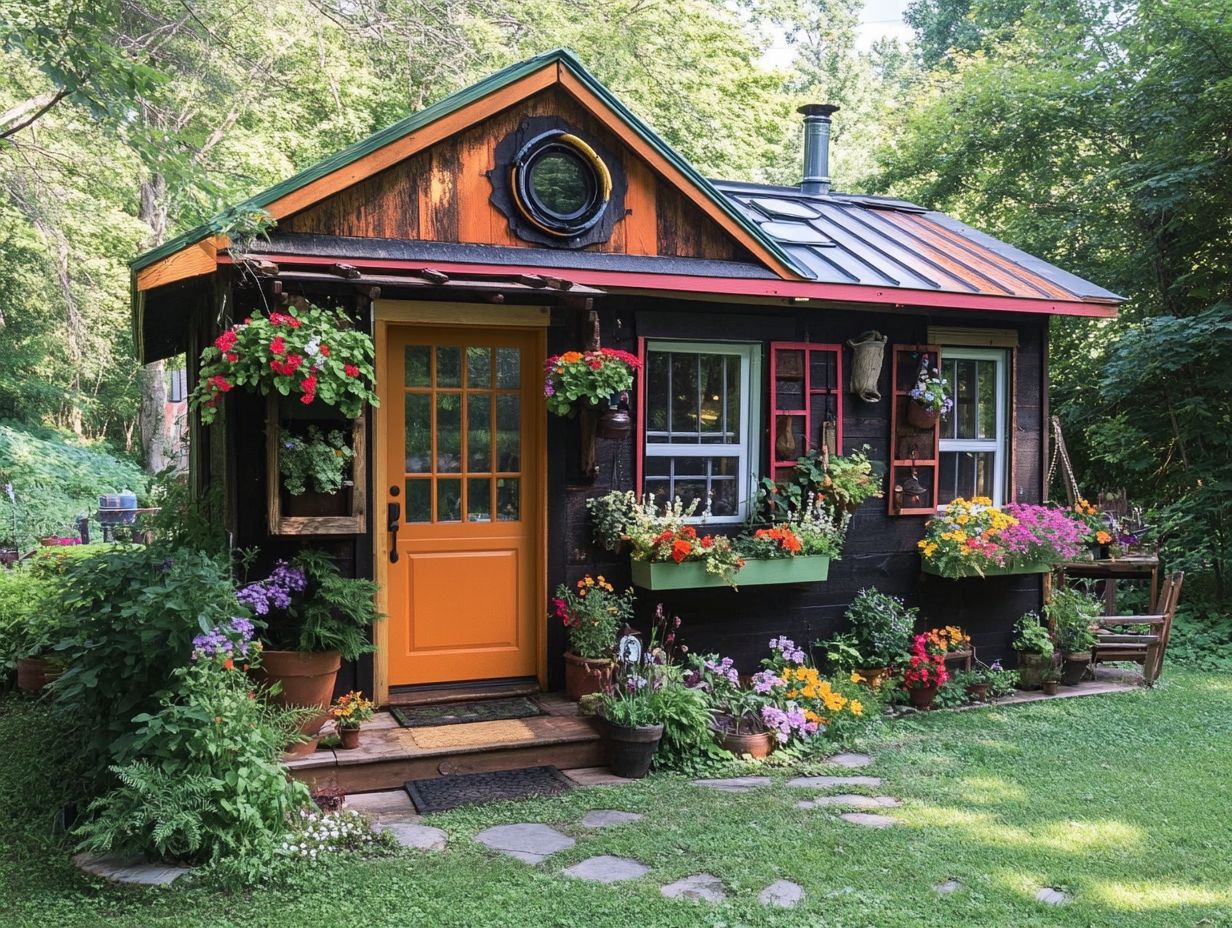
- Assess your needs and budget before starting your tiny house exterior makeover.
- Consider the pros and cons of DIY vs. hiring a professional for your makeover.
- Choose the right materials for your climate and follow a step-by-step guide for a successful makeover.
What is a Tiny House?
A tiny house is more than just a compact living space; it s an experience, typically measuring less than 400 square feet, meticulously designed to maximize functionality and efficiency while embodying a minimalist lifestyle. As the trend of tiny house living gains momentum, you’re likely to find more individuals embracing a simplified way of life that emphasizes mobility, flexibility, and financial advantages. This lifestyle allows you to live comfortably without the weight of a hefty mortgage or the hassle of extensive upkeep.
This burgeoning movement draws inspiration from the architectural principles of minimalism and sustainability, encouraging you to downsize and declutter your life. One of the most appealing aspects of tiny houses is their affordability, enabling you to significantly reduce costs associated with traditional housing. The potential for mobility means you can easily relocate your home, perfectly aligning with a growing desire for adventure.
Moreover, this cultural shift reflects a broader societal appreciation for experiences over material possessions, fostering a fulfilling sense of community and a deeper connection to nature, emphasizing the mobility and flexibility of tiny house living.
Why Consider an Exterior Makeover?
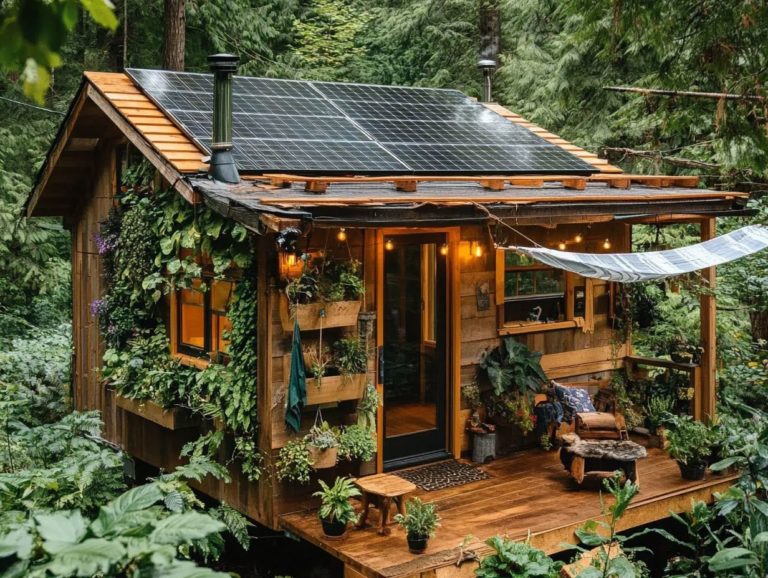
Considering an exterior makeover for your tiny house can dramatically enhance its curb appeal and elevate its aesthetic charm. It transforms your home into a personal statement of style and creativity. Whether you re drawn to the rustic allure of wooden siding or the sleek sophistication of steel, a thoughtful approach to your tiny house s exterior will beautifully reflect your personality while addressing essential durability and maintenance needs.
Many homeowners like you are motivated by the desire to cultivate a welcome atmosphere, inviting friends and family to appreciate your unique dwelling. Choosing the right materials, such as reclaimed wood for a warmer, eco-friendly vibe or contemporary steel for a polished, industrial look, opens the door to versatile design possibilities.
Incorporating elements like vibrant paint colors, decorative trim, or energy-efficient windows allows for even more personal expression. Ultimately, these choices not only enhance visual appeal but also boost property value, engage the local community, and create an inspired living space that stands out in any neighborhood.
Planning Your Tiny House Exterior Makeover
Effective planning is essential for achieving a successful tiny house exterior makeover. It requires a thoughtful evaluation of your needs, budget, and design choices that resonate with your vision.
By understanding the financial advantages of selecting the right materials and making informed design decisions, including exploring cost savings from durable options like corrugated metal sheets, you can elevate not only the beauty of your tiny house’s exterior but also its long-term value and functionality.
Assessing Your Needs and Budget
Assessing your needs and budget is the essential first step when planning a tiny house exterior makeover. This foundational move will guide your choices and keep you within your financial limits.
By evaluating your financial benefits and prioritizing key design elements, you can make informed decisions that harmonize style and practicality without sacrificing quality.
This careful assessment empowers you to set clear priorities, distinguishing between what you must have and what s merely nice to have. As you explore various design options, it s crucial to consider long-term maintenance requirements and potential energy savings alongside initial costs.
For example, while investing in high-quality materials, such as Sienna treated lumber or LED options, may seem like a splurge at first, it can lead to lower maintenance expenses and greater durability down the line.
By factoring in these elements, you can craft a budget that not only embodies your vision but also ensures financial prudence, ultimately elevating both the appeal and functionality of your tiny home.
Designing Your New Exterior
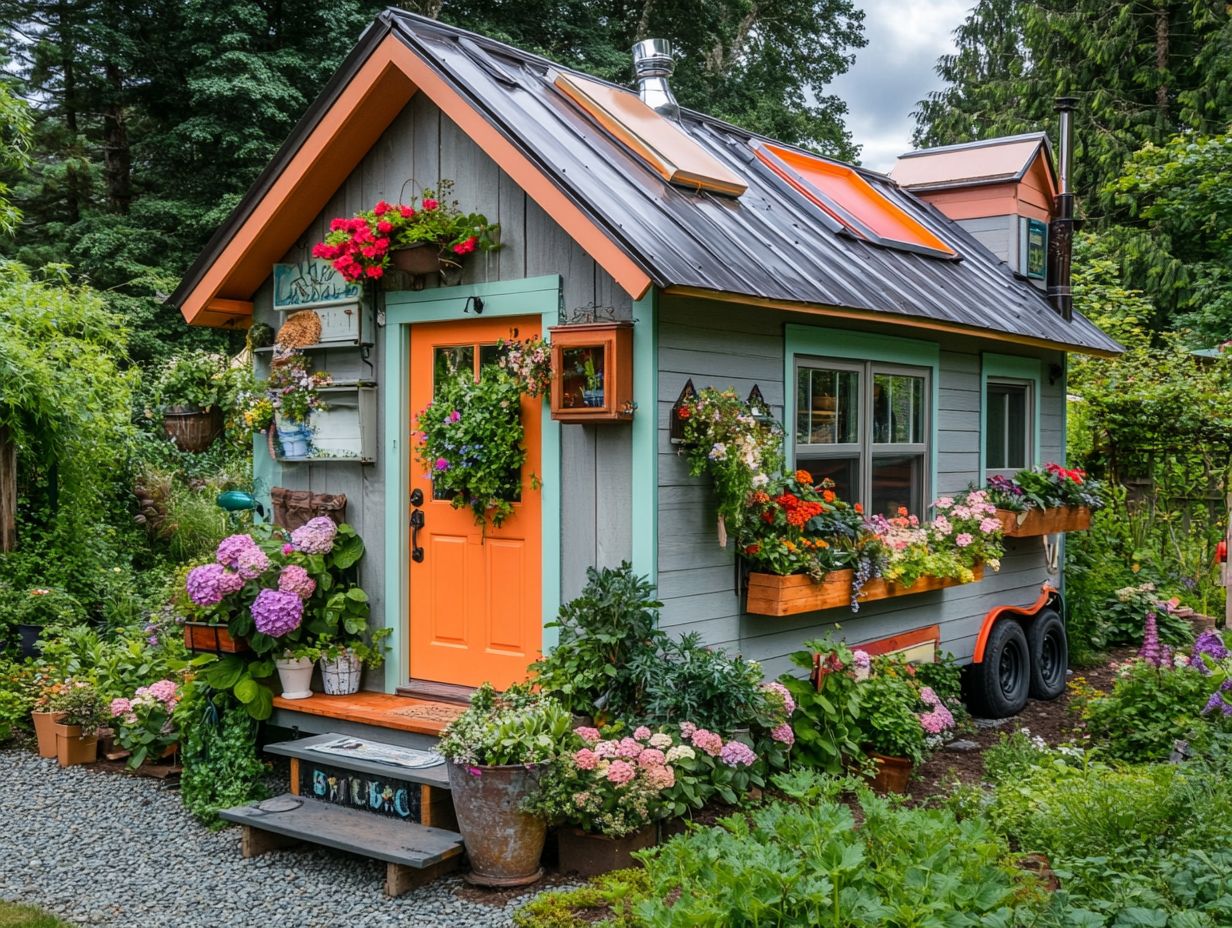
Get ready to unleash your creativity in designing your new exterior! It’s a delightful blend of creativity and practicality, inviting you to explore various design elements while ensuring that your choices harmonize with the overall aesthetic of your tiny house.
From selecting the perfect color palette to employing innovative problem-solving techniques, the design process is not just enjoyable it results in an exterior that shows off your personality.
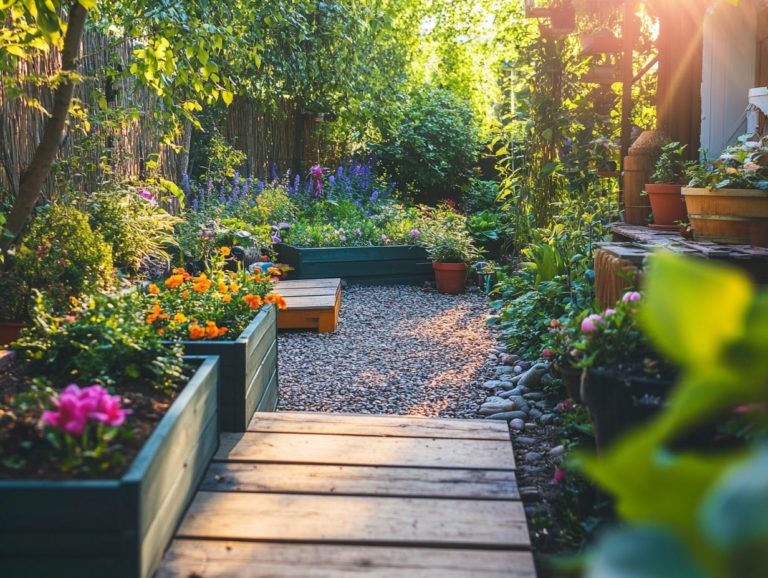
As you embark on this journey, consider choosing exterior materials that offer both durability and visual allure. Natural colors drawn from your surroundings can forge a beautiful connection between your tiny house and the landscape.
Incorporating elements like decorative trim, outdoor lighting, and cleverly designed storage solutions can elevate the visual narrative without sacrificing functionality. By emphasizing the interplay of textures and finishes such as combining warm wood paneling with sleek metal accents you ll add depth and character.
Ultimately, embracing creativity in your design process enables you to introduce innovative features, transforming your tiny house into a true reflection of your vision and lifestyle.
DIY vs. Hiring a Professional
When contemplating an exterior makeover for your tiny house, one of the pivotal decisions you face is whether to embark on this project as a DIY endeavor or to enlist professional assistance. Each option presents its unique advantages and challenges.
Opting for a DIY approach can lead to significant cost savings and a rewarding sense of personal achievement. Hiring professionals guarantees quality craftsmanship and ensures that all maintenance needs are meticulously addressed.
Pros and Cons of Each Option
Evaluating the pros and cons of tackling a DIY project versus hiring a professional is crucial for making an informed decision about your tiny house exterior makeover. Each path comes with its own set of unique benefits and challenges.
Going the DIY route can infuse your personal style into the project while allowing for significant cost savings. However, enlisting professional help often guarantees higher quality work and ensures that your renovations will stand the test of time.
While DIY renovations can be rewarding, they can also be time-consuming and may lack the finesse that a skilled professional brings. If you have a busy lifestyle or limited experience, the learning curve can be steep, and mistakes could compromise the quality of your work.
Conversely, hiring a professional not only saves you time but also ensures that all renovations are completed efficiently and in compliance with building codes, which are rules that make sure buildings are safe. However, this option typically comes with a higher price tag, which can strain your budget.
Ultimately, understanding these dynamics will empower you to choose the best route for your unique tiny house renovation needs.
Materials and Supplies You Will Need
Selecting the perfect materials and supplies for your tiny house exterior makeover can make your home truly shine! Explore a range of options, including:
- Wooden siding
- Steel siding
- Corrugated metal sheets
- Vinyl siding
Choose materials that match your climate, such as wooden siding or vinyl siding, and fit your design preferences. This approach will elevate the charm of your home s exterior.
Choosing the Right Materials for Your Climate
When selecting materials for your tiny house exterior, consider your local climate. Different materials have varying levels of durability and maintenance requirements depending on specific weather conditions. By choosing materials that can withstand your area’s environmental challenges, you ensure that your tiny house remains both attractive and functional for years to come.
For example, in regions with heavy rainfall, opt for water-resistant materials like fiber cement siding or treated wood. This choice can significantly minimize the risk of rot and mold, ultimately easing upkeep. Conversely, if you live in an area with intense sunlight, look for materials that offer protection from sun damage.
Understanding how well materials insulate is crucial; materials with excellent insulation properties can help maintain energy efficiency, reducing your heating and cooling costs. By taking a mindful approach to material selection, you not only enhance your tiny home’s longevity but also elevate its aesthetic appeal, perfectly tailored to its unique climatic context.
Step-by-Step Guide to a Successful Makeover
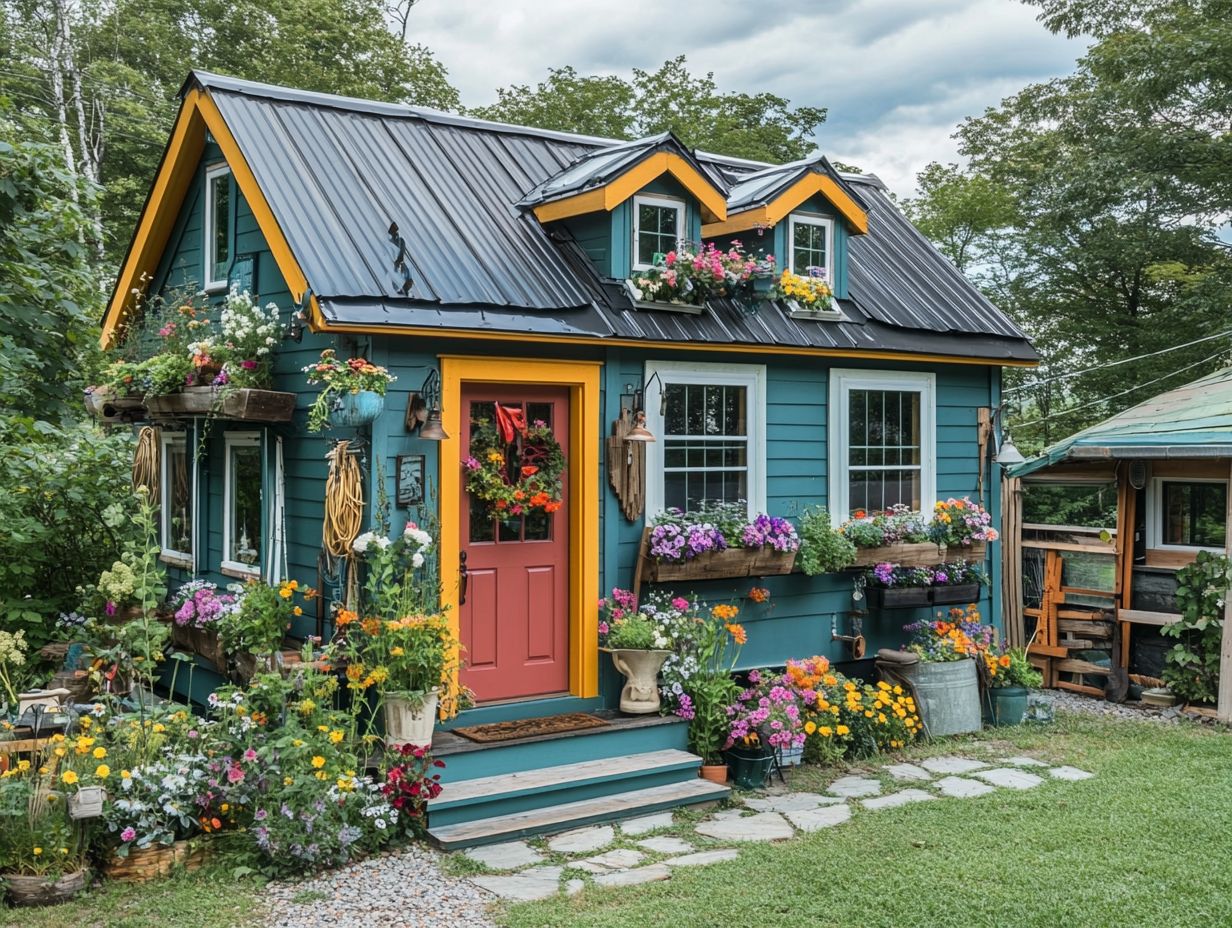
Embarking on a tiny house exterior makeover demands a structured approach. This step-by-step guide ensures that your project flourishes from preparation to application.
By meticulously following each phase, you can achieve not only the aesthetic you envision but also the functionality you desire. This will help minimize the risks of common pitfalls often associated with home renovation endeavors. Remember, incorporating solar panels can also enhance the efficiency of your tiny house!
Get Ready for Your Transformation!
Preparing the exterior of your tiny house is an essential step. It requires thorough cleaning, necessary repairs, and careful planning to set the stage for a successful transformation. Proper preparation primes the surfaces for new materials or paint, enhancing both durability and appearance.
Start the cleaning process by removing any dirt, grime, or mildew that has accumulated over time. These nuisances can hinder the adhesion of new finishes. Once you ve achieved that clean slate, closely inspect the structure for any damages, such as cracks or peeling paint. Addressing these issues promptly will prevent further deterioration.
Planning is equally important; take a moment to visualize the desired look and select materials that align with your vision. This foresight can significantly impact the overall success of your renovation.
By taking these preparatory steps, you ll elevate the aesthetics of your tiny house while contributing to its longevity and functionality. Gather your supplies today and get started on creating your dream home!
Applying New Materials or Paint
Applying new materials or paint to your tiny house exterior is the most exhilarating phase of your makeover journey. Here, your creative vision takes center stage through your color choices and material selections.
Paying attention to detail during the application process, along with carefully considered finishing touches, can significantly elevate the overall look and durability of your tiny house.
To get started, it s essential to prepare the surface thoroughly. Cleaning, sanding, and priming are foundational steps that pave the way for a flawless finish.
Whether you choose high-quality paint or innovative materials, each decision can dramatically influence the final appearance.
When it s time to paint, use a brush for intricate areas and a roller for larger surfaces to ensure a smooth application. Opting for multiple thin coats instead of one thick layer will help you achieve an even finish that resists bubbling or peeling.
Don’t underestimate the impact of those finishing touches trim, caulking, and proper sealing. Not only do they protect against the elements, but they also add an aesthetic charm that elevates your tiny house’s design and reinforces its eco-friendliness. For more insights, check out these tips for successful DIY tiny house construction.
Maintaining Your New Exterior
Maintaining the exterior of your new tiny house is crucial for preserving its beauty and functionality. Implementing effective maintenance routines ensures long-term durability and satisfaction.
Be mindful of the materials you choose and their inherent durability factors. With just a few simple tips and a clear understanding of the specific maintenance requirements, you’ll keep your tiny house looking fresh and inviting for years to come.
Tips for Keeping Your Tiny House Looking Fresh
Keeping your tiny house looking fresh requires a blend of regular cleaning, timely repairs, and proactive preservation strategies. This ensures its exterior remains inviting and appealing.
Begin by establishing a regular cleaning routine that focuses on surfaces prone to dirt and grime, like the siding and windows. A bi-monthly pressure wash can work wonders. A quarterly inspection of the exterior helps you catch minor repairs before they escalate into major headaches.
Incorporating preservation strategies such as protecting your house from rain and snow and sealing wood surfaces is essential to safeguard against the elements, keeping your dwelling in pristine condition. Don t forget to check your gutters regularly; a clogged system can lead to costly water damage over time.
By staying diligent with these tasks, you ll maintain the beauty and functionality of your tiny home for years to come.
Frequently Asked Questions
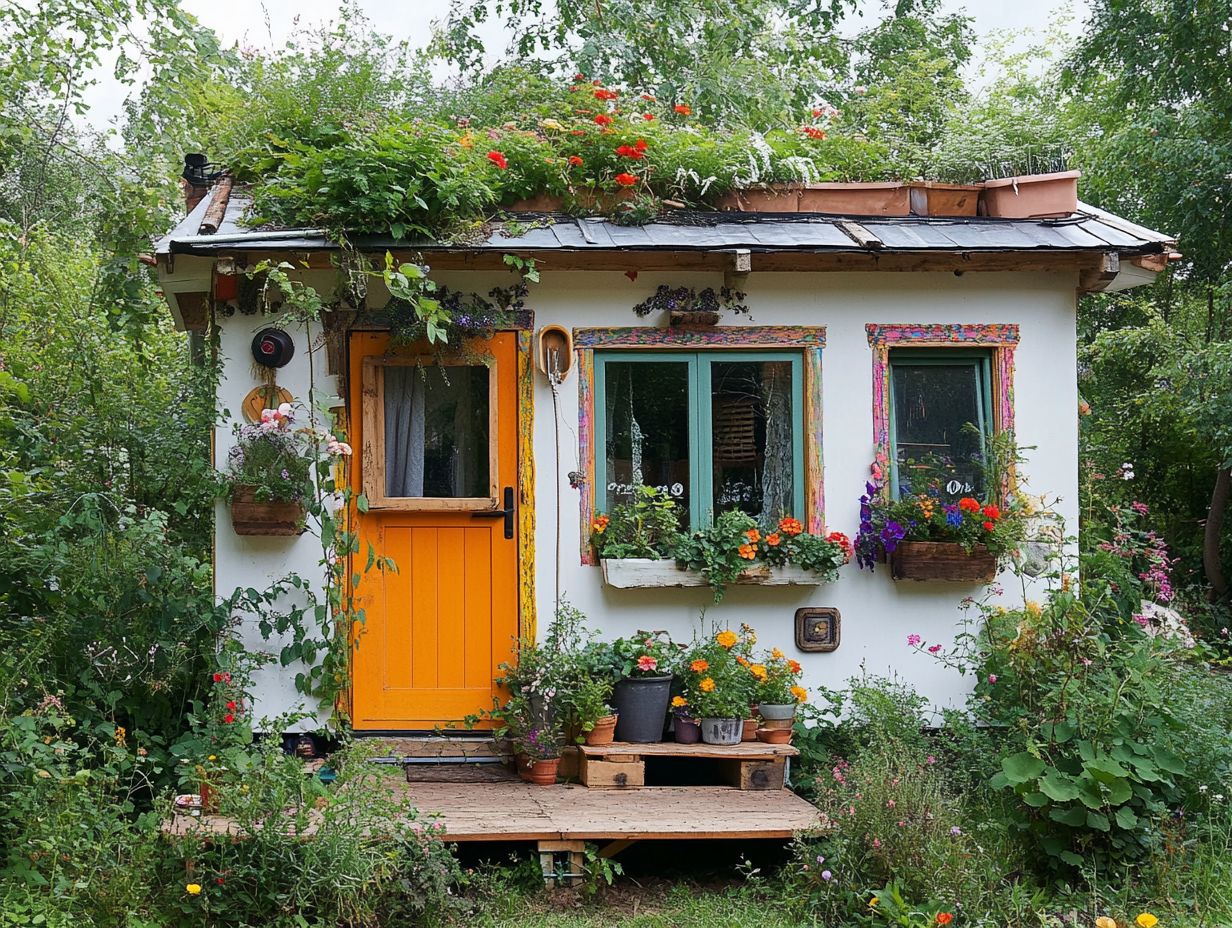
What are some tips for a DIY Tiny House Exterior Makeover?
- Begin by thoroughly cleaning and prepping the surface of your tiny house exterior for a smooth, long-lasting finish.
- Consider using peel and stick products for an easy and affordable update.
- Utilize outdoor paint specifically designed for your tiny house’s material.
- Incorporate natural elements like wood or stone for a unique, rustic look.
- Don’t be afraid to experiment with different colors or patterns to add personality.
- Take your time and plan the makeover carefully to avoid mistakes.
What tools and materials will I need for a DIY Tiny House Exterior Makeover?
- Cleaning supplies such as a pressure washer, scrub brushes, and mild detergent.
- Paint brushes, rollers, and trays for applying paint.
- Masking tape, drop cloths, and plastic sheeting to protect surrounding areas.
- Sandpaper and putty for repairing damaged areas.
- Measuring tape, level, and a saw for cutting materials.
- Outdoor paint or stain, along with any additional materials you plan to incorporate.
Start your tiny house makeover journey today!
Looking to refresh your tiny house’s exterior without breaking the bank?
Yes, there are many budget-friendly options for updating the exterior of your tiny house. Some ideas include using peel and stick products, repurposing materials, or purchasing paint or stain in bulk to save money. Don’t forget to check local stores like Home Depot Canada for deals.
How can I incorporate sustainability into my DIY Tiny House Exterior Makeover?
1. Consider using eco-friendly paint options, such as low or zero volatile organic compounds (VOCs) paints.
2. Use reclaimed or repurposed materials for a unique and sustainable touch.
3. Install solar panels, rain barrels, or other energy-efficient features.
Do I need any special skills to complete a DIY Tiny House Exterior Makeover?
No, anyone can successfully complete a DIY tiny house exterior makeover with the right tools and resources. Some tasks require basic skills like measuring, cutting, and painting.
Can I still update the exterior of my tiny house if I’m renting it?
Yes, there are temporary and removable options for updating the exterior of your tiny house, such as peel and stick products or outdoor curtains. Be sure to check with your landlord before making any changes.

